 GoHighLevel (Step-by-Step Guide)” title=”Workflow flowchart for How to Create and Send Invoices in GoHighLevel (Step-by-Step Guide)”>
Final Article Body (no in-body title)
Sending clean, professional invoices is one of the fastest ways to turn a won deal into real revenue. If you’re using GoHighLevel just for funnels or pipelines today, you’re leaving money and manual work on the table.
This guide walks you through exactly how to create and send invoices in GoHighLevel, how to customize your invoice settings, and how to connect payments to automated workflows so every new client moves smoothly from "yes" to onboarded.
Along the way, you’ll see where GoHighLevel does the heavy lifting for you—and where Revset Labs can step in as your implementation partner if you’d rather not build everything yourself.
If you don’t yet have access, you can start a free GoHighLevel trial and follow along as you set up invoicing.
What You Need Before Creating Invoices in GoHighLevel
Before you send your first invoice, spend a few minutes getting the foundations right. It will save you hours of cleanup later.
1. Confirm your payments setup
Make sure you’ve already:
- Connected your payment processor (Stripe, PayPal, etc.).
- Tested at least one small payment so you know money can actually move.
- Configured your default currency and tax settings.
If you’re not sure whether payments are ready, that’s the first thing to confirm inside your GoHighLevel account.
2. Add core products or services
GoHighLevel lets you treat line items as products or services. Before you start invoicing, decide what should be standardized:
- One-time services (e.g. "Strategy Session", "Implementation Package").
- Recurring services (e.g. "Monthly Retainer", "Subscription").
- Any fixed-fee add-ons or setup charges.
You can manually type line items into an invoice on the fly, but creating repeatable products makes it much easier to keep pricing and naming consistent—especially if your team is sending invoices.
3. Decide how you want to get paid and by when
Clarify a few basics:
- Standard payment terms (e.g. Due on receipt, Net 7, Net 30).
- Whether you’ll allow payment plans or only full payment.
- How you’ll handle deposits vs. final balances.
You’ll wire these decisions into your invoice settings so every new invoice starts with the right defaults.
If you’d like a done-with-you pass on structuring products, terms, and payment logic, Revset Labs can help you design a lean invoicing setup that matches your offer stack and cash-flow goals.
Step-by-Step: How to Create and Send an Invoice in GoHighLevel
This is the core flow most users are looking for.
Step 1 – Open the Invoices area
- Log in to your GoHighLevel account.
- From the left-hand navigation, go to Payments → Invoices & Estimates.
- You’ll land on a list of existing invoices and estimates, along with their status (Draft, Sent, Paid, etc.).
Step 2 – Start a new invoice
- Click New in the top-right corner.
- Choose New Invoice.

You’re now in the invoice editor.
Step 3 – Add your customer details
In the Billed to section:
- Search for an existing contact, or
- Create a new contact on the spot with name, email, and phone.
For best results, make sure every invoiced contact has:
- A valid email (for sending the invoice).
- A phone number if you plan to send invoice reminders via SMS.
If you’re brand new to contacts, you may want to pair this guide with Getting Started – Create and Manage Contacts in GoHighLevel so your invoicing sits on top of a clean CRM.
Step 4 – Add line items and pricing
In the Items section:
- Click Add item.
- Choose a saved product/service or type a custom description.
- Set the quantity, unit price, and any tax that applies.
- Repeat for each line item on the invoice.
You can also:
- Apply discounts at the line-item or invoice level.
- Add internal notes or public invoice notes that show up for the client (e.g. scope summary, links to resources, or terms).
Step 5 – Configure invoice dates and terms
Make sure the basics are accurate:
- Invoice number – Use a consistent numbering pattern so finance can track easily.
- Issue date – When the invoice is created.
- Due date – Based on your standard terms or a specific agreement.
You can also pre-fill standard terms (e.g. late fees, refund policies) via your invoice settings so you don’t have to rewrite them every time.
Step 6 – Preview and save the invoice
Before you send anything:
- Use the Preview option to see what the client will see.
- Double-check:
- Client name and email.
- Line items and amounts.
- Taxes, discounts, and totals.
- Notes and terms.
- Click Save to store the invoice.
Step 7 – Send the invoice to your client
Once everything looks correct:
- Click Send.

- Choose how you want to deliver it:
- Email only.
- SMS only.
- Both email and SMS.
- Customize the subject line and message if needed (e.g. add context, next steps, or a friendly reminder of what they purchased).
Your client receives a professional invoice with a secure payment link connected directly to your payment processor.
If you don’t have a GoHighLevel account yet, you can launch GoHighLevel with a free trial and send your first invoice today.
Step 8 – Record payments and receipts
As payments come in:
- GoHighLevel will automatically mark the invoice as Paid when payment is processed through the invoice link.
- If you collect payment outside the system (bank transfer, cash, etc.), you can manually mark the invoice as paid so your records stay accurate.
From here, you can trigger workflows to start onboarding, assign tasks to your team, or update deal stages based on the payment status.
Editing General Invoice Settings (Branding, Defaults, and Terms)
To avoid editing every invoice from scratch, configure your invoice settings once.
How to access invoice settings
- Go to Payments → Invoices & Estimates.
- Click the Settings (gear) icon.

From here you can:
- Upload your logo and company details (business name, address, contact info).
- Set default payment terms (e.g. Net 7, Net 30).
- Configure default tax rates and whether they’re included or added on top.
- Add standard footer notes like payment instructions or legal disclaimers.
These defaults will apply to every new invoice you create, but you can override them per invoice when needed.
Strategic tip: Treat this page like your "invoice template". The closer your defaults are to reality, the faster your team can move without introducing errors.
When you're satisfied, click Save.

If you’d like help designing a single, clean set of invoice defaults that match all your offers (and keep your bookkeeper happy), Revset Labs can work with you to blueprint and implement that structure in GoHighLevel.
Managing Invoices at Scale
Once you’re sending more than a handful of invoices, the management view becomes critical.
From Payments → Invoices & Estimates, you can:
-
Filter by status (Draft, Sent, Paid, Overdue).
-
Search by client name, amount, or invoice number.
-
Quickly see outstanding balances and upcoming due dates.
-
Review its status (e.g., Draft, Sent, Paid).

Common workflows include:
- Spotting overdue invoices and triggering follow-up.
- Identifying clients who consistently pay late.
- Reviewing recent activity before sales or account management calls.
Inside each invoice, you’ll also see a history of sends, views, and payments—useful context if a client claims they never received the invoice.
Automating Invoices with GoHighLevel Workflows
The real power of GoHighLevel invoices shows up when you connect them to automations.
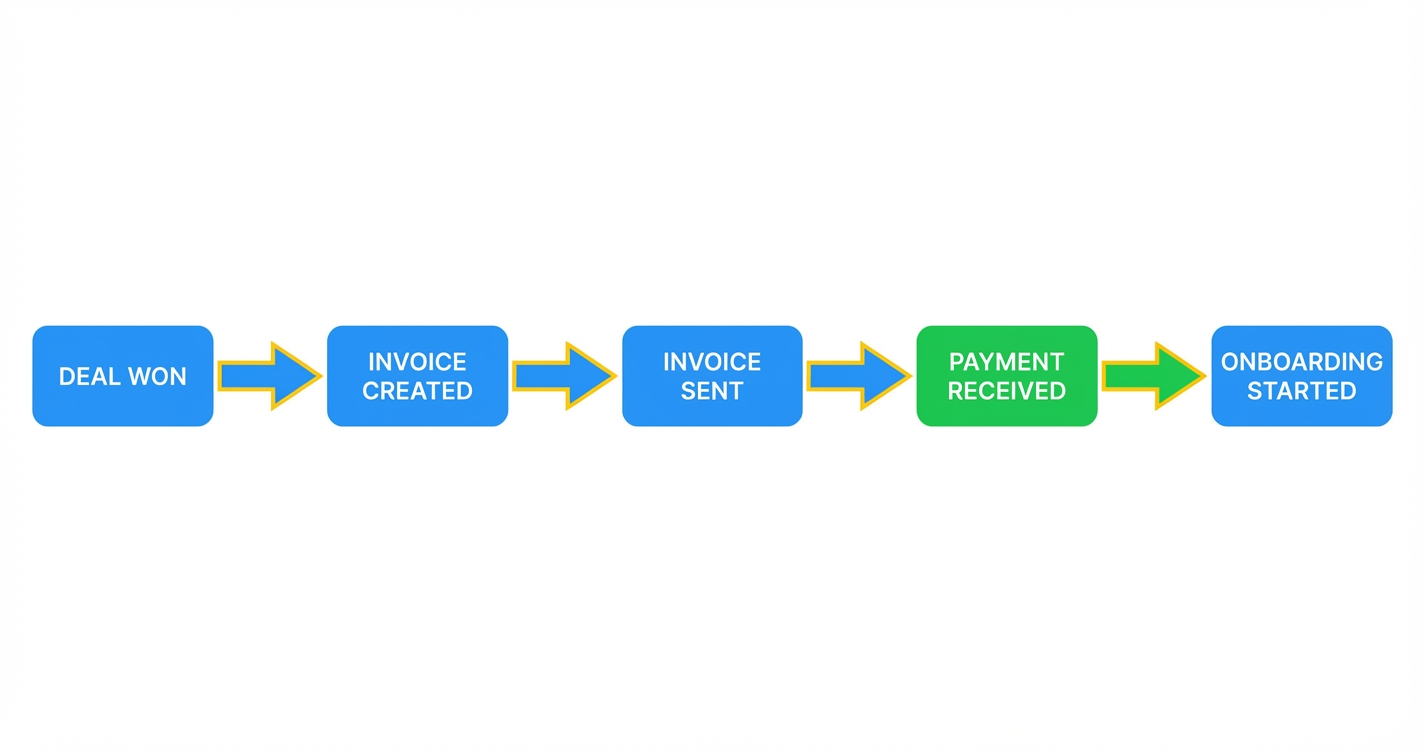
Here’s a simple example flow (also illustrated in the supporting graphic for this article):
Deal Won → Invoice Created → Invoice Sent → Payment Received → Onboarding Started
You can build versions of this flow by combining:
- Workflow triggers (e.g. opportunity stage changes to "Won", form submitted, calendar event completed).
- Invoice actions (e.g. create an invoice from a template, send invoice).
- Follow-up actions (e.g. send reminders, start onboarding campaign, assign tasks).
Practical automation ideas:
- Automatically generate and send an invoice when a proposal is accepted.
- Trigger gentle payment reminders a few days before and after the due date.
- Start an onboarding pipeline only when the invoice is fully paid.
If you’d like someone to architect these flows around your exact sales process, Revset Labs can take your existing pipeline and turn it into a fully automated "deal won → cash collected → client onboarded" system inside GoHighLevel.
Connecting Invoices to Pipelines and Client Experience
Invoicing isn’t just about getting paid—it’s a key part of the client experience.
Some ways to combine invoices with other GoHighLevel features:
- Pipelines: Move opportunities to a "Payment Pending" stage while the invoice is open, then to "Onboarding" once paid.
- Tasks: Automatically assign a task to your team when a high-value invoice is sent or paid.
- Surveys & forms: After payment, send a short onboarding or intake form to capture the information your team needs to deliver.
By linking pipelines, tasks, and invoices together, you reduce manual handoffs and make it obvious what should happen next for every client.
Frequently Asked Questions About GoHighLevel Invoices
What’s the difference between an invoice and an estimate?
An estimate is a proposal of work and price—it doesn’t request payment. An invoice is a formal request for payment based on an agreed scope. Many businesses send an estimate first, then convert it into an invoice once the client says yes.
Why isn’t my logo showing on older invoices?
If your logo appears on new invoices but not on older ones, the original image file may have been removed from your media library. Upload a new version of your logo, update your business details to use it, and re-send any key invoices that need refreshed branding.
What if a client says they never received the invoice?
First, check the invoice history to see whether it was sent and opened. If it shows as sent but not viewed, confirm the client’s email address and re-send the invoice. You can also send a link via SMS if you have their mobile number.
Can I create recurring invoices or payment plans?
Yes. GoHighLevel supports payment plans and automations so you can break a larger project into installments or bill on a recurring schedule. You can combine this with workflows to send reminders and start or pause services based on payment status.
Where GoHighLevel and Revset Labs Fit Together
GoHighLevel gives you the infrastructure to create, send, and track invoices. Revset Labs helps you turn that infrastructure into a complete, automated revenue engine.
Our team can help you:
- Map your offers into clean products and invoice templates.
- Connect deals, invoices, and onboarding steps into one consistent workflow.
- Build automations that keep cash flow steady and clients informed at every step.
If you’re ready to tighten up how money flows through your business, you can start your free GoHighLevel trial here and work with Revset Labs to design the invoicing and onboarding system around it.