 GoHighLevel contact data to Google Sheets via Zapier Webhooks. The flow shows GoHighLevel CRM leading to Zapier Webhook, then to a Google Sheets row.” title=”Workflow flowchart for Send GoHighLevel Contacts to Google Sheets Using Zapier Webhooks (Step-by-Step Guide)”>

Launching a new automation is a lot easier when your data doesn’t live in five different tools. If your contacts live in GoHighLevel but your reporting, QA, or client handoffs happen in Google Sheets, wiring the two together with Zapier webhooks gives you a clean, always‑up‑to‑date sheet without manual exports.
In this guide, you’ll set up a simple but powerful flow:
- GoHighLevel contact is created or updated
- Zapier catches the webhook payload
- Zapier writes a new row into Google Sheets
Along the way, you’ll see where to plug this into your GoHighLevel workflows, how to avoid duplicate or messy rows, and how to use this data to make better decisions.
If you don’t have a GoHighLevel account yet, you can start a free trial and follow along: Start your GoHighLevel trial.
When It Makes Sense to Send GoHighLevel Contacts to Google Sheets
Before you build anything, confirm that Google Sheets is the right destination.
Common use cases:
- Lightweight reporting: Share a simple lead log or pipeline snapshot with a client who lives in spreadsheets.
- Operations checklists: Give your ops or fulfillment team a sheet that lists new customers they need to onboard.
- Ad‑hoc analysis: Quickly slice and dice contacts by source, campaign, or pipeline stage without touching SQL or BI tools.
- Backups and audits: Keep a rolling extract of new contacts so you can sanity‑check data or recover from mistakes.
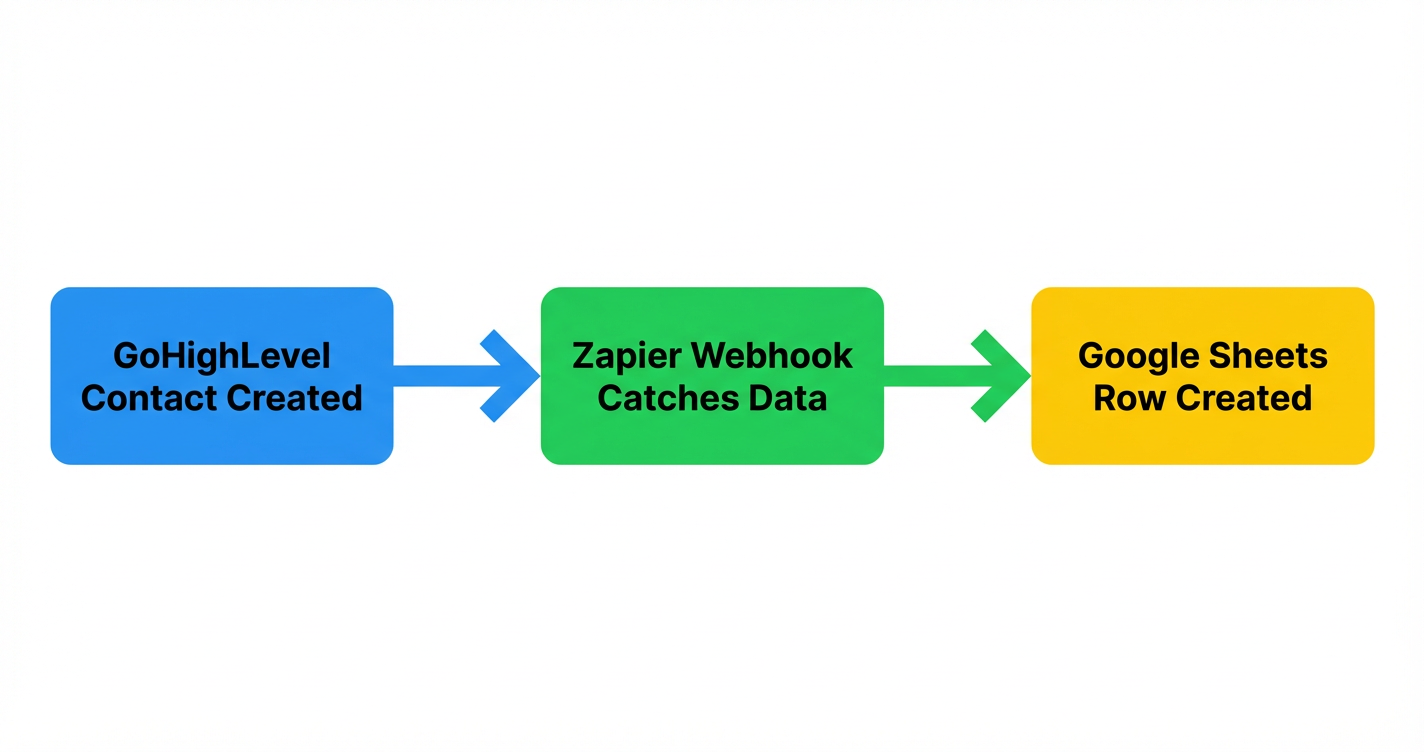
The core pattern is always the same:
GoHighLevel CRM → Zapier Webhook → Google Sheets row
You can see this visually in the supporting flowchart image attached to this task.
If you’re looking for deeper segmentation, omnichannel follow‑up, or multi‑pipeline reporting, Sheets is usually a supporting view, not the final source of truth. The real power comes from keeping GoHighLevel as your hub and treating Sheets as a flexible surface layer.
Prerequisites
You’ll need:
- A GoHighLevel account with access to Workflows and Webhooks.
- A Zapier account that supports Webhooks by Zapier and Google Sheets.
- A Google account with permission to create and edit a Google Sheet.
- At least one way contacts enter GoHighLevel, such as a form, funnel, calendar booking, or manual entry.
If you’re starting from scratch, spin up GoHighLevel first and work through foundational steps like creating and managing contacts, setting up pipelines and opportunities, and configuring your first workflows. Those pieces turn this integration from “nice‑to‑have spreadsheet” into a real revenue operations asset.
Step 1: Prepare Your Google Sheet
Before Zapier can write rows, you need a sheet with clear, stable column headers.
- Create a new Google Sheet and name it something like “GoHighLevel Contacts (Zapier Webhook)”.
- In row 1, add the column headers you care about, for example:
created_atfirst_namelast_nameemailphonepipelinestatussourceownergohighlevel_contact_id
- Freeze the header row so it stays visible when you scroll.
- (Optional) Turn the range into a Google Sheets table or apply filters and basic formatting so it’s easy for your team to scan.
Best practice: Always include a unique ID from GoHighLevel (for example contact_id). That makes it much easier to de‑duplicate or join this sheet with other data later.
Step 2: Create a Zapier Webhook to Catch GoHighLevel Data
Next, you’ll build the Zap that receives contact data and writes it into Sheets.
- In Zapier, click “Create Zap”.
- For the Trigger app, choose “Webhooks by Zapier”.
- For the Event, select “Catch Hook”.
- Click Continue, then copy the Custom Webhook URL Zapier generates. This is the endpoint GoHighLevel will send data to.
Leave this Zap open—you’ll come back to it after GoHighLevel has sent a test request.
Step 3: Add a Webhook Action Inside Your GoHighLevel Workflow
Now you’ll tell GoHighLevel when to send contact info to Zapier.
- In GoHighLevel, go to Automations → Workflows.
- Open an existing workflow that represents the moment you want to log a contact (for example “New Lead – Form Submitted” or “New Opportunity Created”), or create a new workflow.
- Add a Trigger if you don’t already have one, such as:
- Form Submitted
- Survey Submitted
- Pipeline Stage Changed
- Appointment Booked
- Inside the workflow, click the plus (+) icon to add a new Action.
- Choose “Webhook”.
- Paste the Zapier Custom Webhook URL from Step 2 into the URL field.
- Leave the method as POST.
- (If available in your account) Choose which data to send. At minimum, make sure the action includes:
- Contact ID
- Name
- Phone
- Any tags, source fields, or custom fields you want on the sheet.
Save the workflow.
To generate a test payload for Zapier:
- Manually create a test contact or submit your form once.
- Give the workflow a moment to run—the webhook action should fire almost immediately.
Step 4: Map the Webhook Data to Google Sheets in Zapier
Return to your Zap in Zapier.
- In the Webhook trigger step, click “Test trigger”.
- Zapier should show at least one recent request from GoHighLevel. Select the latest sample.
- Review the payload and confirm the fields you expect are present (name, email, phone, etc.).
Now add the Google Sheets action:
- Click “+” to add a new step.
- Choose Google Sheets as the Action app.
- For the Event, select “Create Spreadsheet Row”.
- Connect your Google account if prompted.
- Choose the Spreadsheet and Worksheet you created in Step 1.
- Zapier will now show each column header from your sheet. For each one, click into the field and map it to the appropriate value from the webhook payload—for example:
first_name→contact.first_namelast_name→contact.last_nameemail→contact.emailphone→contact.phonepipeline→opportunity.pipeline_namestatus→opportunity.stage_namesource→contact.sourceor a static value likeWebsite Formowner→user.namegohighlevel_contact_id→contact.id
- Click “Test step” to send a sample row to Google Sheets.
Open your sheet and confirm that the new row appears with values in the correct columns.
When everything looks good, turn the Zap ON.
Step 5: Avoid Duplicates and Messy Rows
With the core flow live, take a moment to harden it.
1. Decide when the webhook should fire
- If you trigger on “Contact created”, you’ll get a clean list of first‑touch leads.
- If you trigger on form submissions or pipeline stage changes, you may see multiple rows for the same person.
Neither is wrong—but you should be intentional. If you want one row per contact, stay close to the creation event. If you want one row per important action, include an explicit event_type column (for example form_submitted, appointment_booked).
2. Use filters in Zapier when needed
Add a Filter step after the webhook trigger if you only want certain contacts written to Sheets—for example:
- Only contacts with a specific tag (e.g.
vip-client). - Only contacts in a particular pipeline.
- Only leads from certain sources or forms`.
This keeps your sheet focused and easier to use.
3. Standardize formats
Because Sheets is often shared with non‑technical teammates or clients, use formats they’re comfortable with:
- Normalize phone numbers using a consistent pattern (for example
+1 555 555 5555). - Use proper date columns in Zapier instead of dumping raw timestamps.
- Convert booleans or tags into human‑readable labels where it helps.
You can handle some of this in Zapier, or add formulas in the sheet that reference the raw data columns.
Step 6: Turn Your Sheet Into a Simple Reporting Layer
Once the automation is stable, you can layer light reporting on top of it.
Ideas:
- Add a “Week” or “Month” column using a formula based on
created_at, then build pivot tables for leads by week, source, or pipeline. - Create views per client if you’re an agency, filtered by tag or sub‑account.
- Share a read‑only link with stakeholders who only need to monitor volume and quality.
- Connect the sheet to tools like Looker Studio if you want lightweight dashboards without investing in a full BI stack.
Remember: the sheet should mirror what’s in GoHighLevel, not replace it. All actual work—pipelines, notes, automations, conversations—should still live in GoHighLevel.
How GoHighLevel and Revset Labs Fit Into the Bigger Picture
Sending contacts to Google Sheets is a powerful first step, but it’s only one piece of your revenue system.
With GoHighLevel as your hub, you can:
- Capture leads from websites, funnels, calendars, and forms.
- Route them automatically into pipelines and opportunities.
- Trigger email and SMS follow‑up sequences when someone opts in or books.
- Track conversations, tasks, and deal movement from a single place.
Revset Labs is an AI Automation and Marketing Agency that helps you turn this into a complete, done‑for‑you system. That can include:
- Designing the right workflows for each stage of your customer journey.
- Wiring webhooks, Zapier automations, and reporting layers so they stay in sync.
- Building dashboards so you can see performance at a glance.
If you’re ready to implement this with less trial‑and‑error, start by spinning up GoHighLevel using this link: Get your GoHighLevel trial. From there, you can layer in the workflows and reporting structure outlined in this guide.
FAQs
Do I have to use Zapier, or can I send webhooks directly to Google Sheets?
Google Sheets doesn’t accept raw webhooks on its own. You need an integration layer in the middle—Zapier, Make, Pabbly, or a custom script. This guide uses Zapier because it’s widely supported, easy to maintain, and pairs well with GoHighLevel workflows.
Will this send existing contacts into Google Sheets, or only new ones?
By default, this setup sends contacts when the workflow trigger fires (for example when a form is submitted or a contact is created). Existing contacts won’t be backfilled automatically. If you need historical data, export contacts from GoHighLevel and import them into Sheets once, then let the webhook + Zapier automation handle all new records.
Which Zapier plan do I need for this to work?
You’ll need a Zapier plan that supports Webhooks by Zapier and multi‑step Zaps. For small volumes, a lower‑tier plan is often enough. As your automations grow, upgrade to ensure you have enough tasks and access to filters, paths, and other advanced features.
Is it safe to send contact data to Google Sheets?
Yes—as long as you treat Sheets like any other system of record. Limit access to people who genuinely need it, avoid sharing sheets with public or “anyone with link can edit” permissions, and consider using separate tabs or files for different clients. For highly sensitive data, keep only the fields you truly need in the sheet.
What happens if the Zap fails or Google Sheets is temporarily unavailable?
If Zapier can’t write a row—for example because the sheet was renamed, deleted, or permissions changed—the Zap will show errors in your Zapier task history. You can usually replay failed tasks after fixing the issue. In GoHighLevel, the workflow still runs normally, so your CRM and automations remain intact even if the reporting layer hiccups.