 GoHighLevel (Step-by-Step Guide)”>
Automatic follow-up is where GoHighLevel starts to feel like a real growth engine instead of “just another CRM.” When every form submission automatically kicks off a sequence of well-timed emails and SMS messages, you stay in front of new leads without manually chasing anyone.
This guide walks you through exactly how to set up automatic email and SMS follow-up in GoHighLevel using simple workflows. You’ll use the Form Submitted trigger, build a basic email drip sequence, layer in an SMS drip, and connect everything to calls and sales.
Along the way, you’ll see where GoHighLevel shines and how Revset Labs can help you design, launch, and optimize these automations for real revenue impact.
If you don’t yet have a GoHighLevel account, you can start a free GoHighLevel trial here and follow along as you build your first follow-up workflow.
Why automatic email and SMS follow-up matters
Most businesses lose money between “form submitted” and “conversation started.” Leads get busy, forget who you are, or move on to a competitor who followed up faster.
Automatic follow-up in GoHighLevel solves this by:
- Responding instantly when a form is submitted—no more waiting hours or days.
- Warming up cold leads with a short, educational email/SMS sequence instead of a single blunt pitch.
- Nudging leads toward a clear next step, like booking a call or claiming an offer.
- Freeing your team’s time, since the system keeps following up while you focus on actual sales conversations.
With the right workflow, every new lead gets a consistent, on-brand experience—automatically.
What you’ll build in this guide
By the end of this walkthrough, you’ll have a simple journey that looks like this:
- Form Submitted – A lead fills out a form on your website or funnel.
- Workflow Triggered – A GoHighLevel workflow starts automatically.
- Email Drip Sequence – A short series of value-packed emails is sent over a few days.
- SMS Drip – Timely SMS nudges reinforce the message and encourage replies.
- Booked Call or Sale – Leads are guided to schedule, buy, or take your primary action.
You can see this visually in the flowchart image attached to this article (and saved to the task as the FlowChart Image).
If you want a team to design a higher-converting version of this journey around your specific offers and audience, Revset Labs can handle the strategy and build-out for you.
Before you start: prerequisites and setup
To follow this guide, you’ll need:
- An active GoHighLevel account – If you’re new, launch GoHighLevel with a free trial so you can test everything in a live environment.
- At least one form created in GoHighLevel or in a connected funnel, which your leads submit.
- Email sending set up (SMTP, Mailgun, or another supported provider) so GoHighLevel can send emails on your behalf.
- Phone/SMS capabilities configured (Twilio or another supported provider) so you can send text messages.
If you’re just getting your account in shape, it’s worth also reviewing:
- Getting Started: Create and Manage Contacts in GoHighLevel
- Getting Started: Import Existing Contacts in GoHighLevel
These foundations make your follow-up workflows much more effective.
Part 1 – Build an automatic email follow-up workflow
First, you’ll build an email sequence that fires whenever a specific form is submitted.
Step 1 – Open Automation and create a workflow
- Log in to your GoHighLevel account.
- From the left-hand menu, click Automation → Workflows.
- Click Create Workflow.
- Either choose the Email Drip Sequence recipe or Start from scratch if you prefer to build your own.
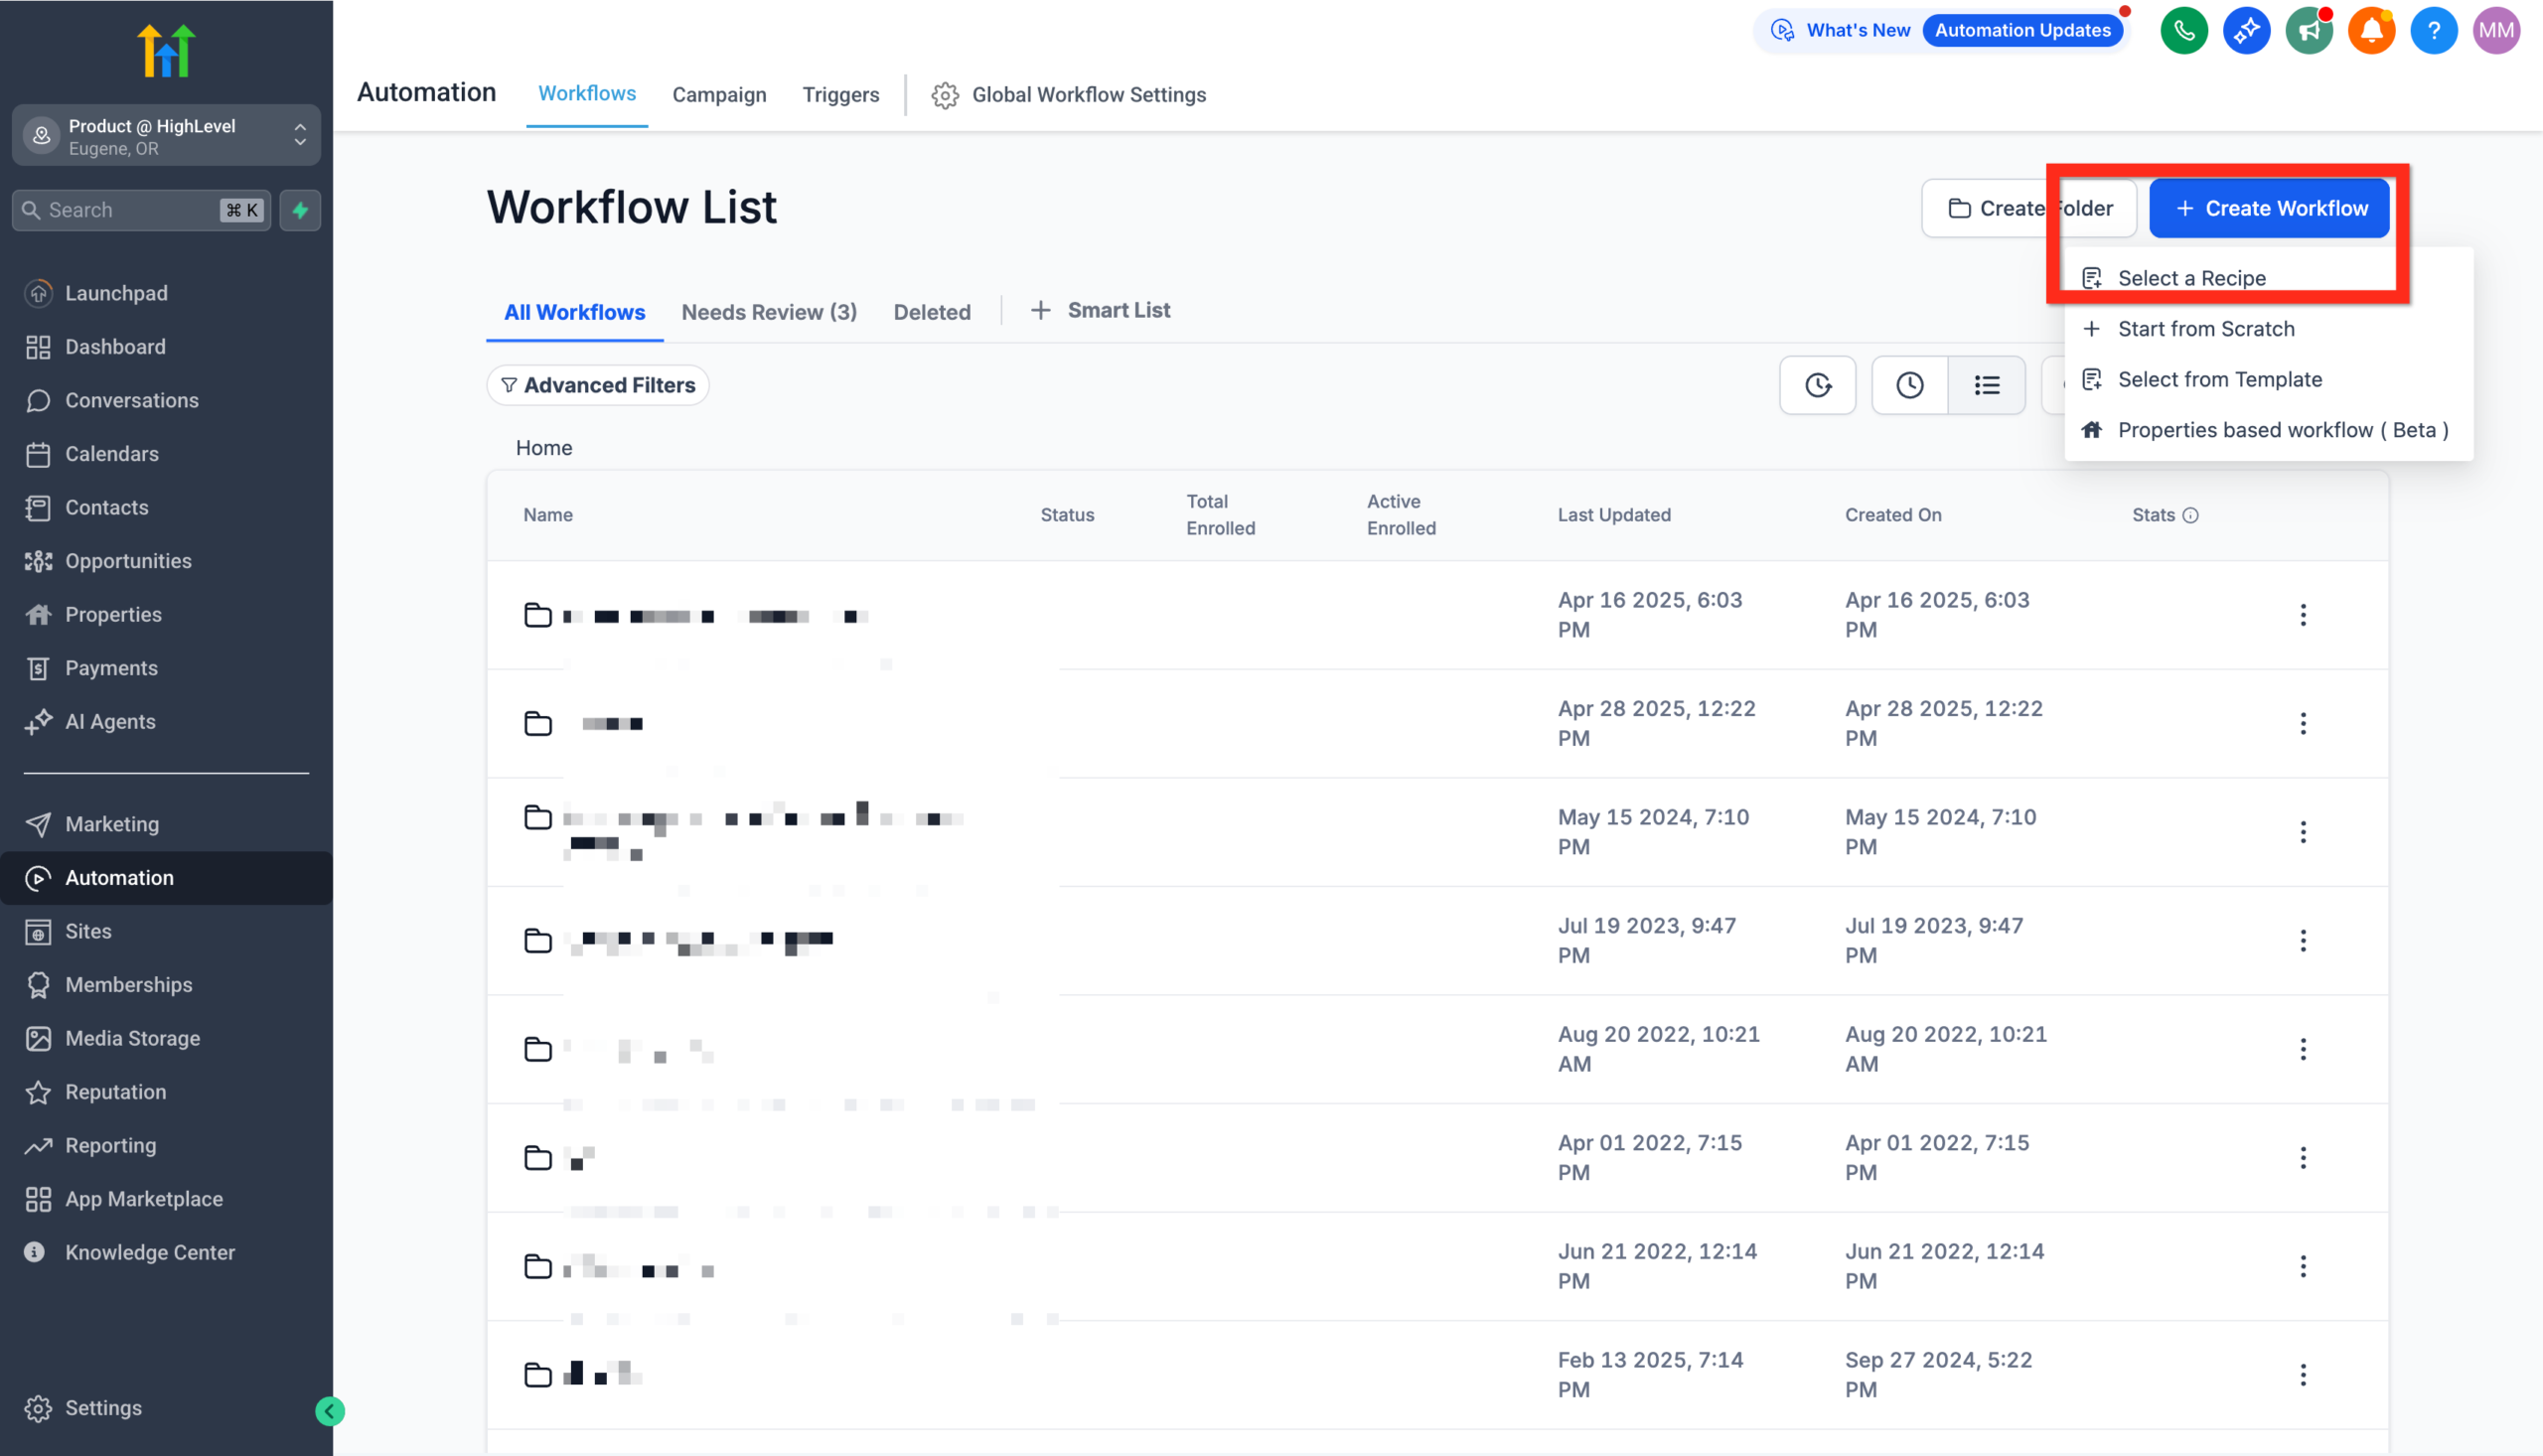 GoHighLevel Automation section showing the 'Create Workflow' button and options to 'Start from scratch' or 'Select a Recipe.'” title=”GoHighLevel Create Workflow”>
Choosing the recipe gives you a ready-made structure with delays and send email steps that you can customize.
Step 2 – Add the Form Submitted trigger
- At the top of the workflow, click Add New Trigger.
- Choose Form Submitted.
- Click Add Filter → Form is.
- Select the exact form you want to trigger this workflow.
- Click Save Trigger.
This ensures that only submissions from the right form enter this follow-up journey.
Step 3 – Configure your email drip sequence
If you used the Email Drip Sequence recipe, you’ll see a series of Send Email actions separated by Wait steps. Customize them as follows:
-
Email 1 – Instant confirmation (sent immediately)
- Thank the lead for submitting the form.
- Confirm what will happen next (e.g. “We’ll review your info and send options within 1 business day”).
- Include a simple CTA such as book a call now or reply with any questions.
-
Email 2 – Value and social proof (1–2 days later)
- Share a quick case study, FAQ, or short guide related to what they just requested.
- Reiterate the value of taking the next step.
-
Email 3 – Clear, focused offer (3–4 days later)
- Present a specific offer or appointment CTA.
- Make it easy to act with a single button or link.
Within each email:
- Use personalization tokens like
{{contact.first_name}}. - Keep copy concise and mobile-friendly.
- Link directly to your booking page or main offer.
If you don’t have a GoHighLevel account yet, this is also a great time to start your free GoHighLevel trial so you can see how these emails look in the actual builder.
Step 4 – Set conditions and goals (optional but powerful)
Use workflow conditions to keep your follow-up relevant:
- If contact books a call, remove them from the rest of the sequence.
- If contact replies, tag them (e.g.
engaged-lead) and notify your team. - If contact is an existing customer, branch them into a different nurture path.
Simple conditional logic like this keeps your automation from feeling robotic or repetitive.
Step 5 – Publish the email workflow
Once you’re happy with your emails and timing:
- Review the workflow from top to bottom.
- Click Publish in the top-right corner.
- Run a quick test by submitting the form yourself and confirming that the emails arrive as expected.
Part 2 – Add an automatic SMS follow-up
SMS gives you a direct, high-open-rate channel—especially for reminders and last-minute nudges. You’ll now add a short SMS drip into the same journey.
Step 1 – Add a Send SMS action
- In your existing workflow, click the + icon where you want SMS to send (for example, after Email 1 or Email 2).
- Choose Send SMS.
- Write a short, conversational text—ideally under 160–200 characters.
Example:
"Hey {{contact.first_name}}, it’s {{user.name}} from {{location.name}}. Thanks for requesting more info—here’s the link to book your call: {{appointment.link}}. Reply with any questions."
Avoid overly salesy language; SMS feels more personal, so keep it friendly and direct.
Step 2 – Use a Drip action for controlled sending (optional)
If you expect a high volume of form submissions, add a Drip step before your Send SMS action:
- Click + and choose Drip.
- Set a batch size (for example, 100 contacts at a time).
- Choose an interval (for example, every 1 day).
- Save the action.
This spreads outbound SMS over time, which can help with deliverability and compliance.
Step 3 – Add follow-up SMS touches
You can also layer in:
- A reminder SMS the day before a booked call.
- A follow-up SMS a few hours after a missed appointment.
- A quick check-in a few days after a quote or proposal.
All of this can live inside the same workflow or be split across specialized workflows depending on how complex your funnel is.
Part 3 – Visualizing the journey (example flow)
To keep your automation simple and focused, think of your journey in five clear steps:
- Form Submitted – The lead raises their hand.
- Workflow Triggered – GoHighLevel instantly adds them to your follow-up.
- Email Drip Sequence – A short sequence builds trust and explains the next step.
- SMS Drip – Timely texts reinforce the message and make it easy to respond.
- Booked Call or Sale – Your primary goal, tracked inside pipelines and reports.
The flowchart image included with this article maps out this sequence visually so you and your team can stay aligned while you iterate.
If you’d like a more advanced version—multi-offer branching, conditional logic based on answers, or integration with other tools—Revset Labs can design and build that for you inside GoHighLevel.
Best practices for email and SMS follow-ups in GoHighLevel
A few guidelines will keep your automations high-performing and compliant:
-
Respect consent and compliance
- Only message people who’ve opted in.
- Include clear unsubscribe/opt-out instructions, especially for SMS.
-
Time your messages thoughtfully
- Use the contact’s time zone when possible.
- Avoid very early or very late messages.
-
Keep it human and on-brand
- Write like a real person, not a corporate template.
- Use short paragraphs and bullets for readability.
-
Test, measure, and iterate
- A/B test subject lines and SMS copy.
- Monitor open, click, reply, and booking rates.
- Adjust timing and message count based on performance.
-
Align with your broader funnel
- Make sure your follow-up points to a clear next step: booking, ordering, or applying.
- Connect this workflow with your pipelines, tasks, and other automations.
Going further with GoHighLevel and Revset Labs
What you’ve built in this guide is a foundational follow-up engine: every form submission now kicks off a coordinated email and SMS sequence that works 24/7.
From here, you can:
- Add more advanced branching based on answers or behavior.
- Plug contacts into specific pipelines for your sales team.
- Trigger additional campaigns for upsells, renewals, or re-activation.
If you want to move faster, Revset Labs—an AI Automation and Marketing Agency—can help you:
- Design the full follow-up strategy around your offers and audience.
- Build and QA workflows, emails, SMS copy, and funnels in GoHighLevel.
- Connect GoHighLevel to the rest of your stack so nothing falls through the cracks.
You can start GoHighLevel with a free trial, then bring in Revset Labs as your implementation partner so your automations drive measurable, compounding revenue.