 GoHighLevel (Step-by-Step CSV Guide)”>
You’ve decided to run your marketing and sales inside GoHighLevel—but all your contacts still live in old CRMs, spreadsheets, or email tools.
Importing that existing list is one of the first big moves you’ll make in GoHighLevel. Do it well, and you start with a clean, structured database you can trust. Do it badly, and you’ll spend months fighting duplicates, broken automations, and messy reporting.
This guide walks you through how to prepare your CSV, import existing contacts into GoHighLevel, and plug them straight into tags, segments, and workflows—so every contact you bring over is ready to generate revenue.
Along the way we’ll show you where tools like GoHighLevel and a strategic partner like Revset Labs can help you move faster.
If you don’t have a GoHighLevel account yet, you can follow along by starting a free trial here:
Start your free GoHighLevel trial
Why importing contacts into GoHighLevel matters
GoHighLevel becomes dramatically more valuable once your existing relationships live inside it.
A proper import lets you:
- See a single, unified view of each contact across email, SMS, calls, forms, and funnels.
- Trigger automations (welcome sequences, nurture flows, sales follow-up) the moment contacts enter a segment.
- Run accurate reporting on lead sources, pipeline stages, and conversion rates.
If you skip the prep work and just drop a raw CSV into GoHighLevel, you’ll likely end up with:
- Inconsistent names, emails, and phone formats.
- Duplicate records that confuse your team and your automations.
- Gaps in key data (tags, source, status) that make segmentation painful.
A carefully planned import fixes these upfront so your GoHighLevel build has a solid foundation.
Step 1 – Prepare and clean your CSV file
Before you touch GoHighLevel, start where your data currently lives.
-
Export from your current system
Export your contacts from your existing CRM, email tool, or spreadsheet into a CSV (.csv) file. Most tools have an "Export" option that lets you choose CSV. -
Keep just one sheet
Make sure your CSV has one tab only. Multiple sheets often get ignored during import. -
Standardize your columns
Aim for clear, simple column headers that map well to GoHighLevel fields, such as:- First Name
- Last Name
- Phone
- Company / Business Name
- Tags
- Lead Source
- Status / Lifecycle Stage
-
Clean obviously bad records
Remove rows that are clearly unusable—for example:- Missing both email and phone.
- Obvious test records (e.g.,
test@test.com). - Bounced or invalid emails you already know about.
-
Normalize formats
- Make sure phone numbers use a consistent format with country code (for example,
+1for US,+61for Australia). - Fix capitalization for names and company fields.
- Make sure phone numbers use a consistent format with country code (for example,
Revset Labs tip: Use this import as an excuse to tidy up your database. A few extra minutes of cleanup now saves you hours of deduping and troubleshooting later.
If you’d like to see how clean contact data powers better pipelines and automations, you can always spin up a new GoHighLevel account and experiment:
Try GoHighLevel with a free trial
Step 2 – Open the Contacts area in GoHighLevel
Once your CSV is ready, log into GoHighLevel.
- From the left-hand navigation, click Contacts.
- You’ll land on the main Contacts list with search, filters, and bulk action options.
- In the top-right, locate the Import button (often represented by an icon with an arrow or upload symbol).
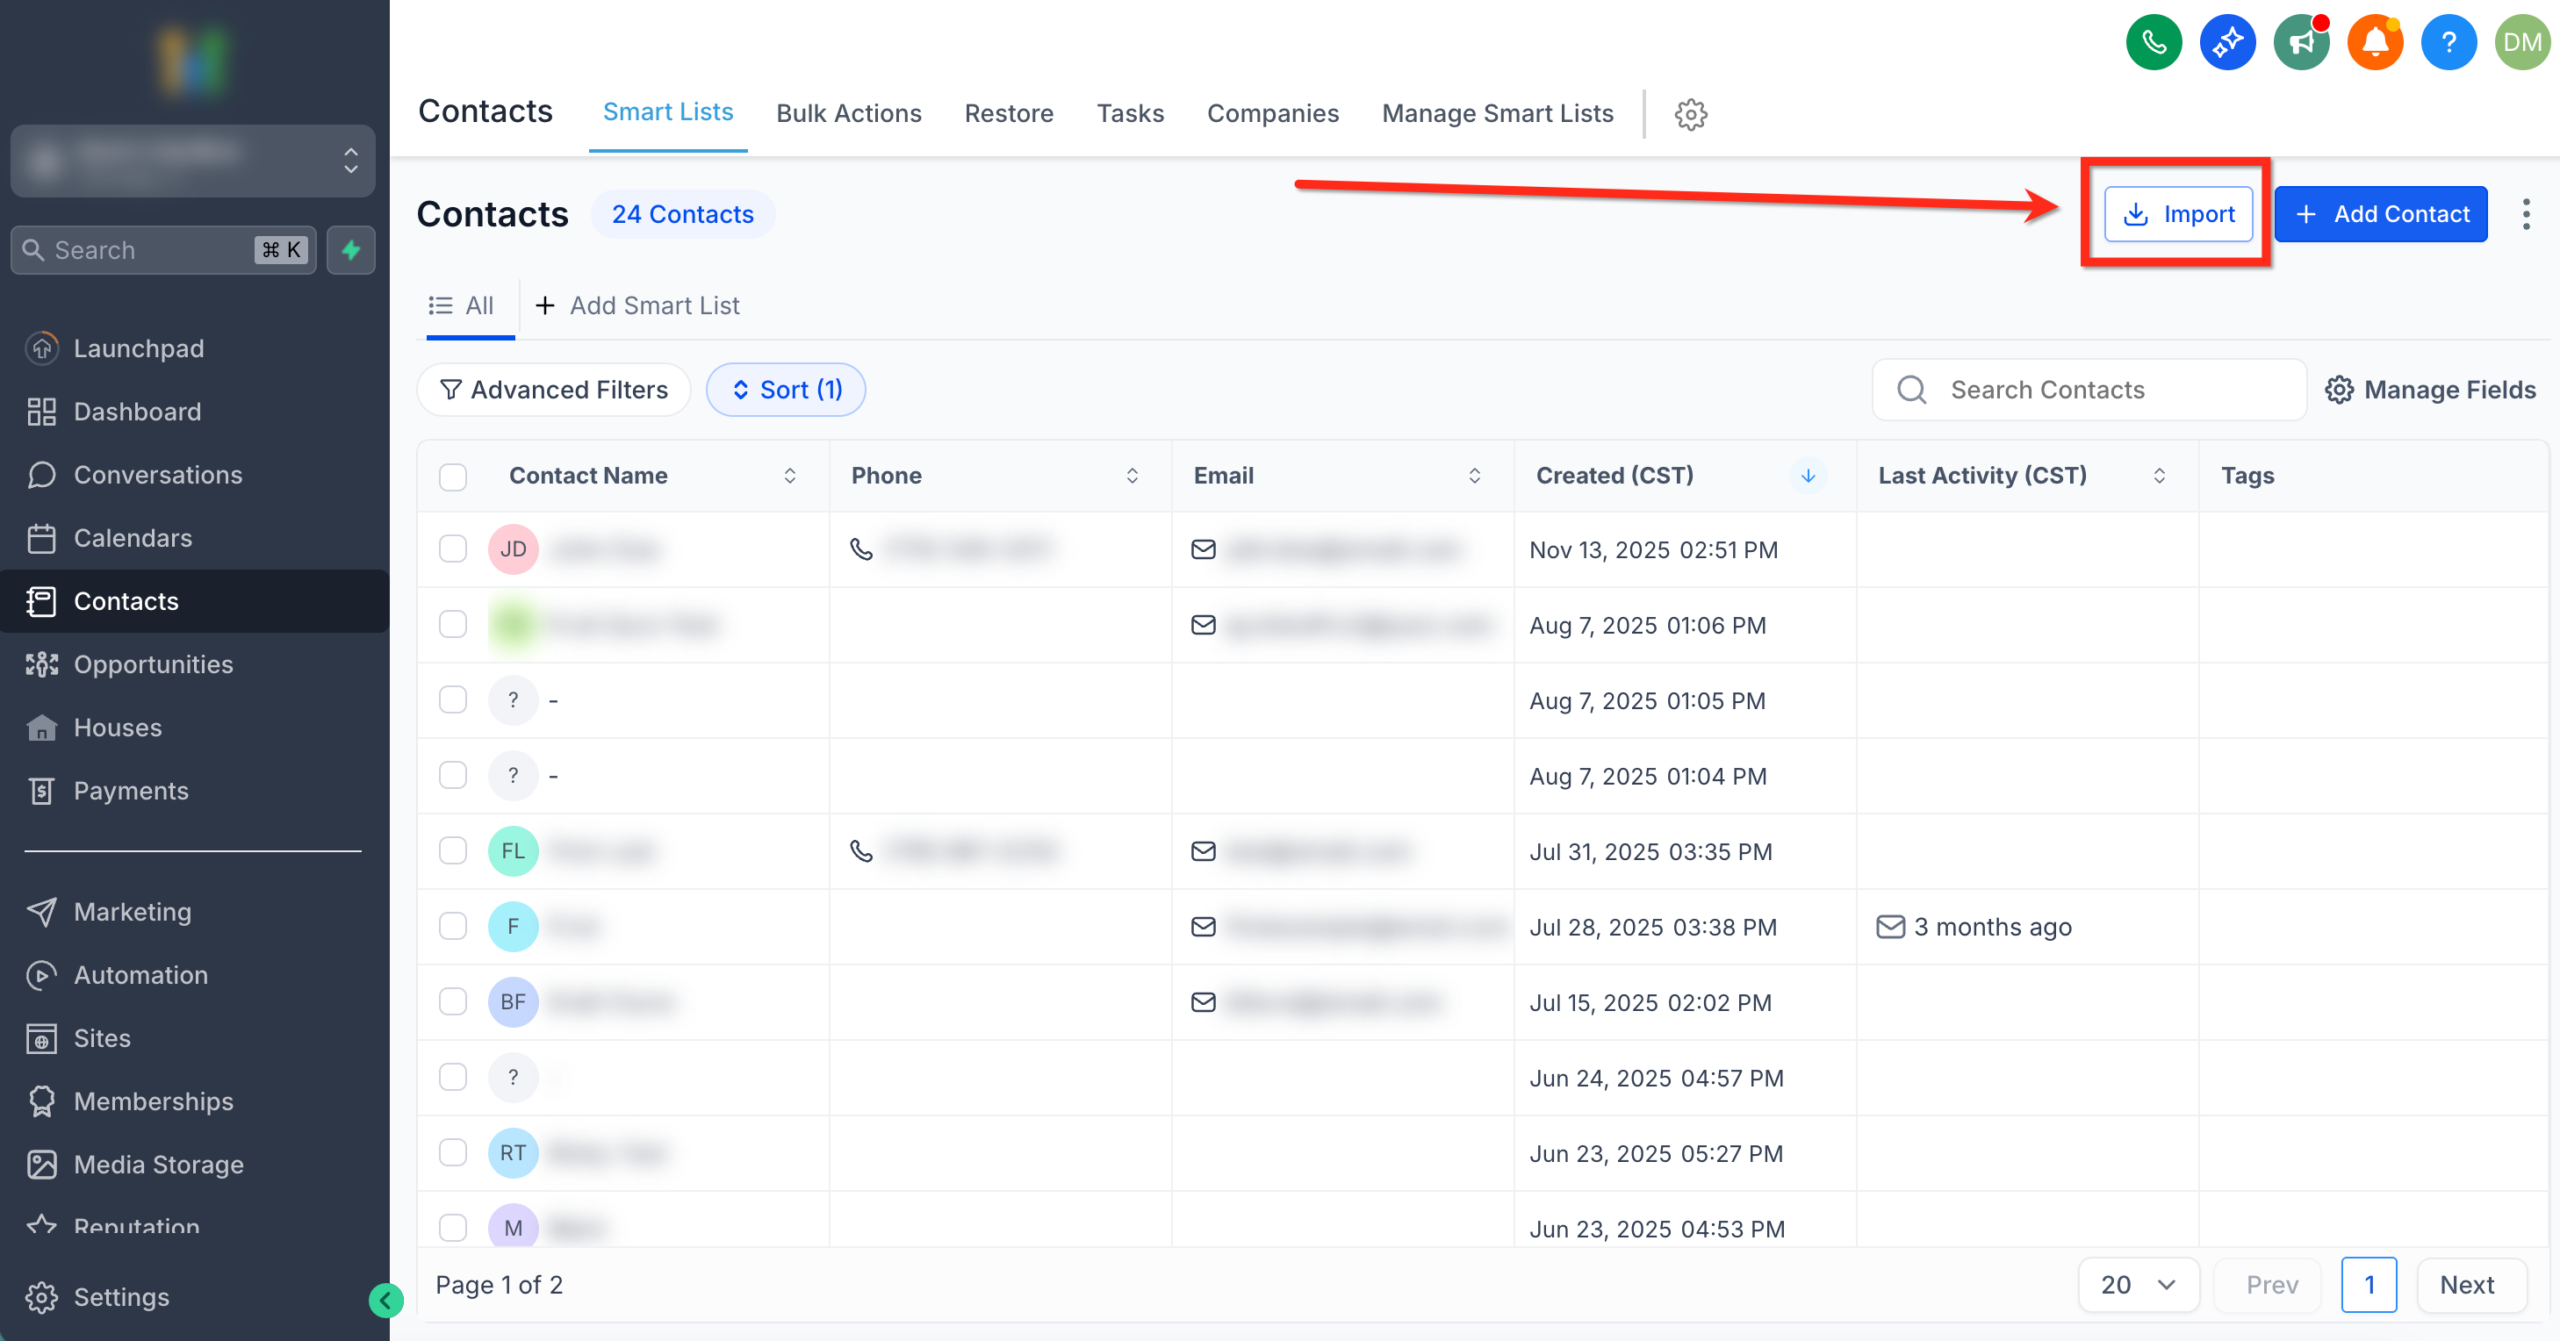 GoHighLevel, represented by a downward arrow icon.” title=”Screenshot showing the 'Import' button in the Contacts section of GoHighLevel, represented by a downward arrow icon.”>
Step 3 – Start the import and upload your CSV
With Contacts open:
- Click Import.
- When prompted to choose what you’re importing, select Contacts and click Next.
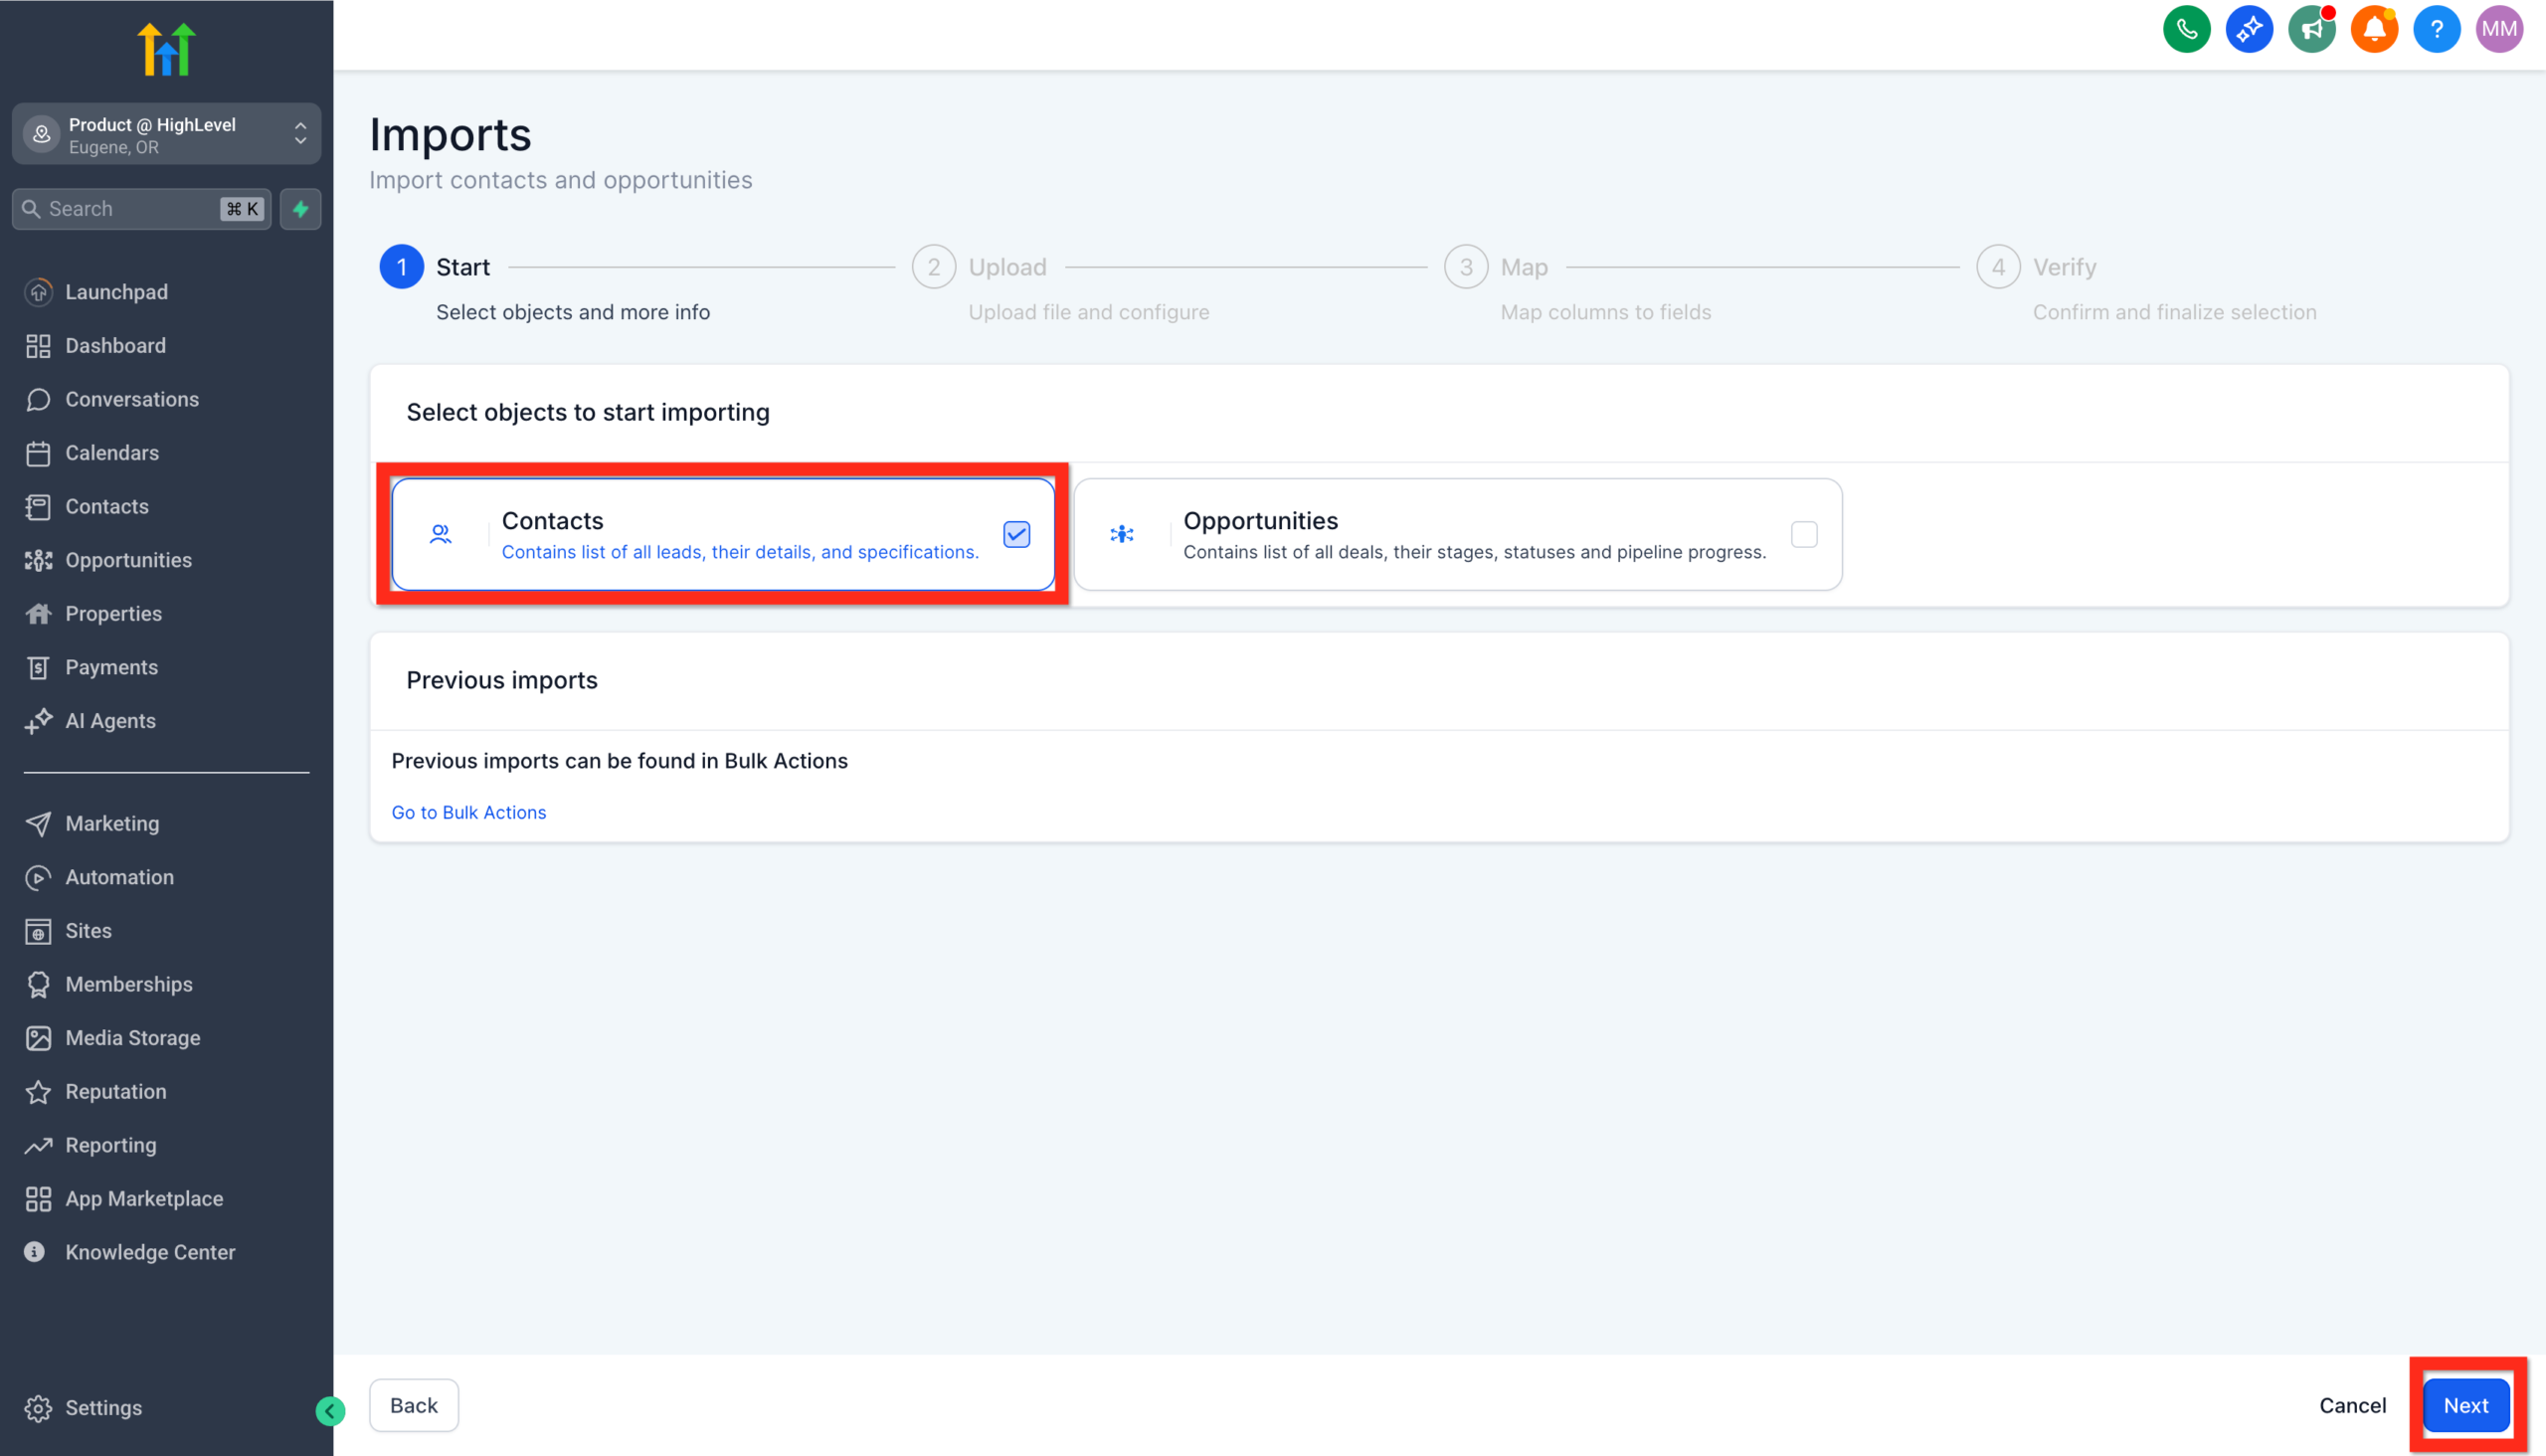 GoHighLevel import wizard, showing 'Select Contacts' option highlighted before clicking Next.” title=”Screenshot of the GoHighLevel import wizard, showing 'Select Contacts' option highlighted before clicking Next.”>
 - Confirm that your file is a CSV and that it’s under the size limit (GoHighLevel typically supports CSV files up to tens of thousands of rows, subject to a size cap noted in the UI).
- Click Upload and select your cleaned CSV file.
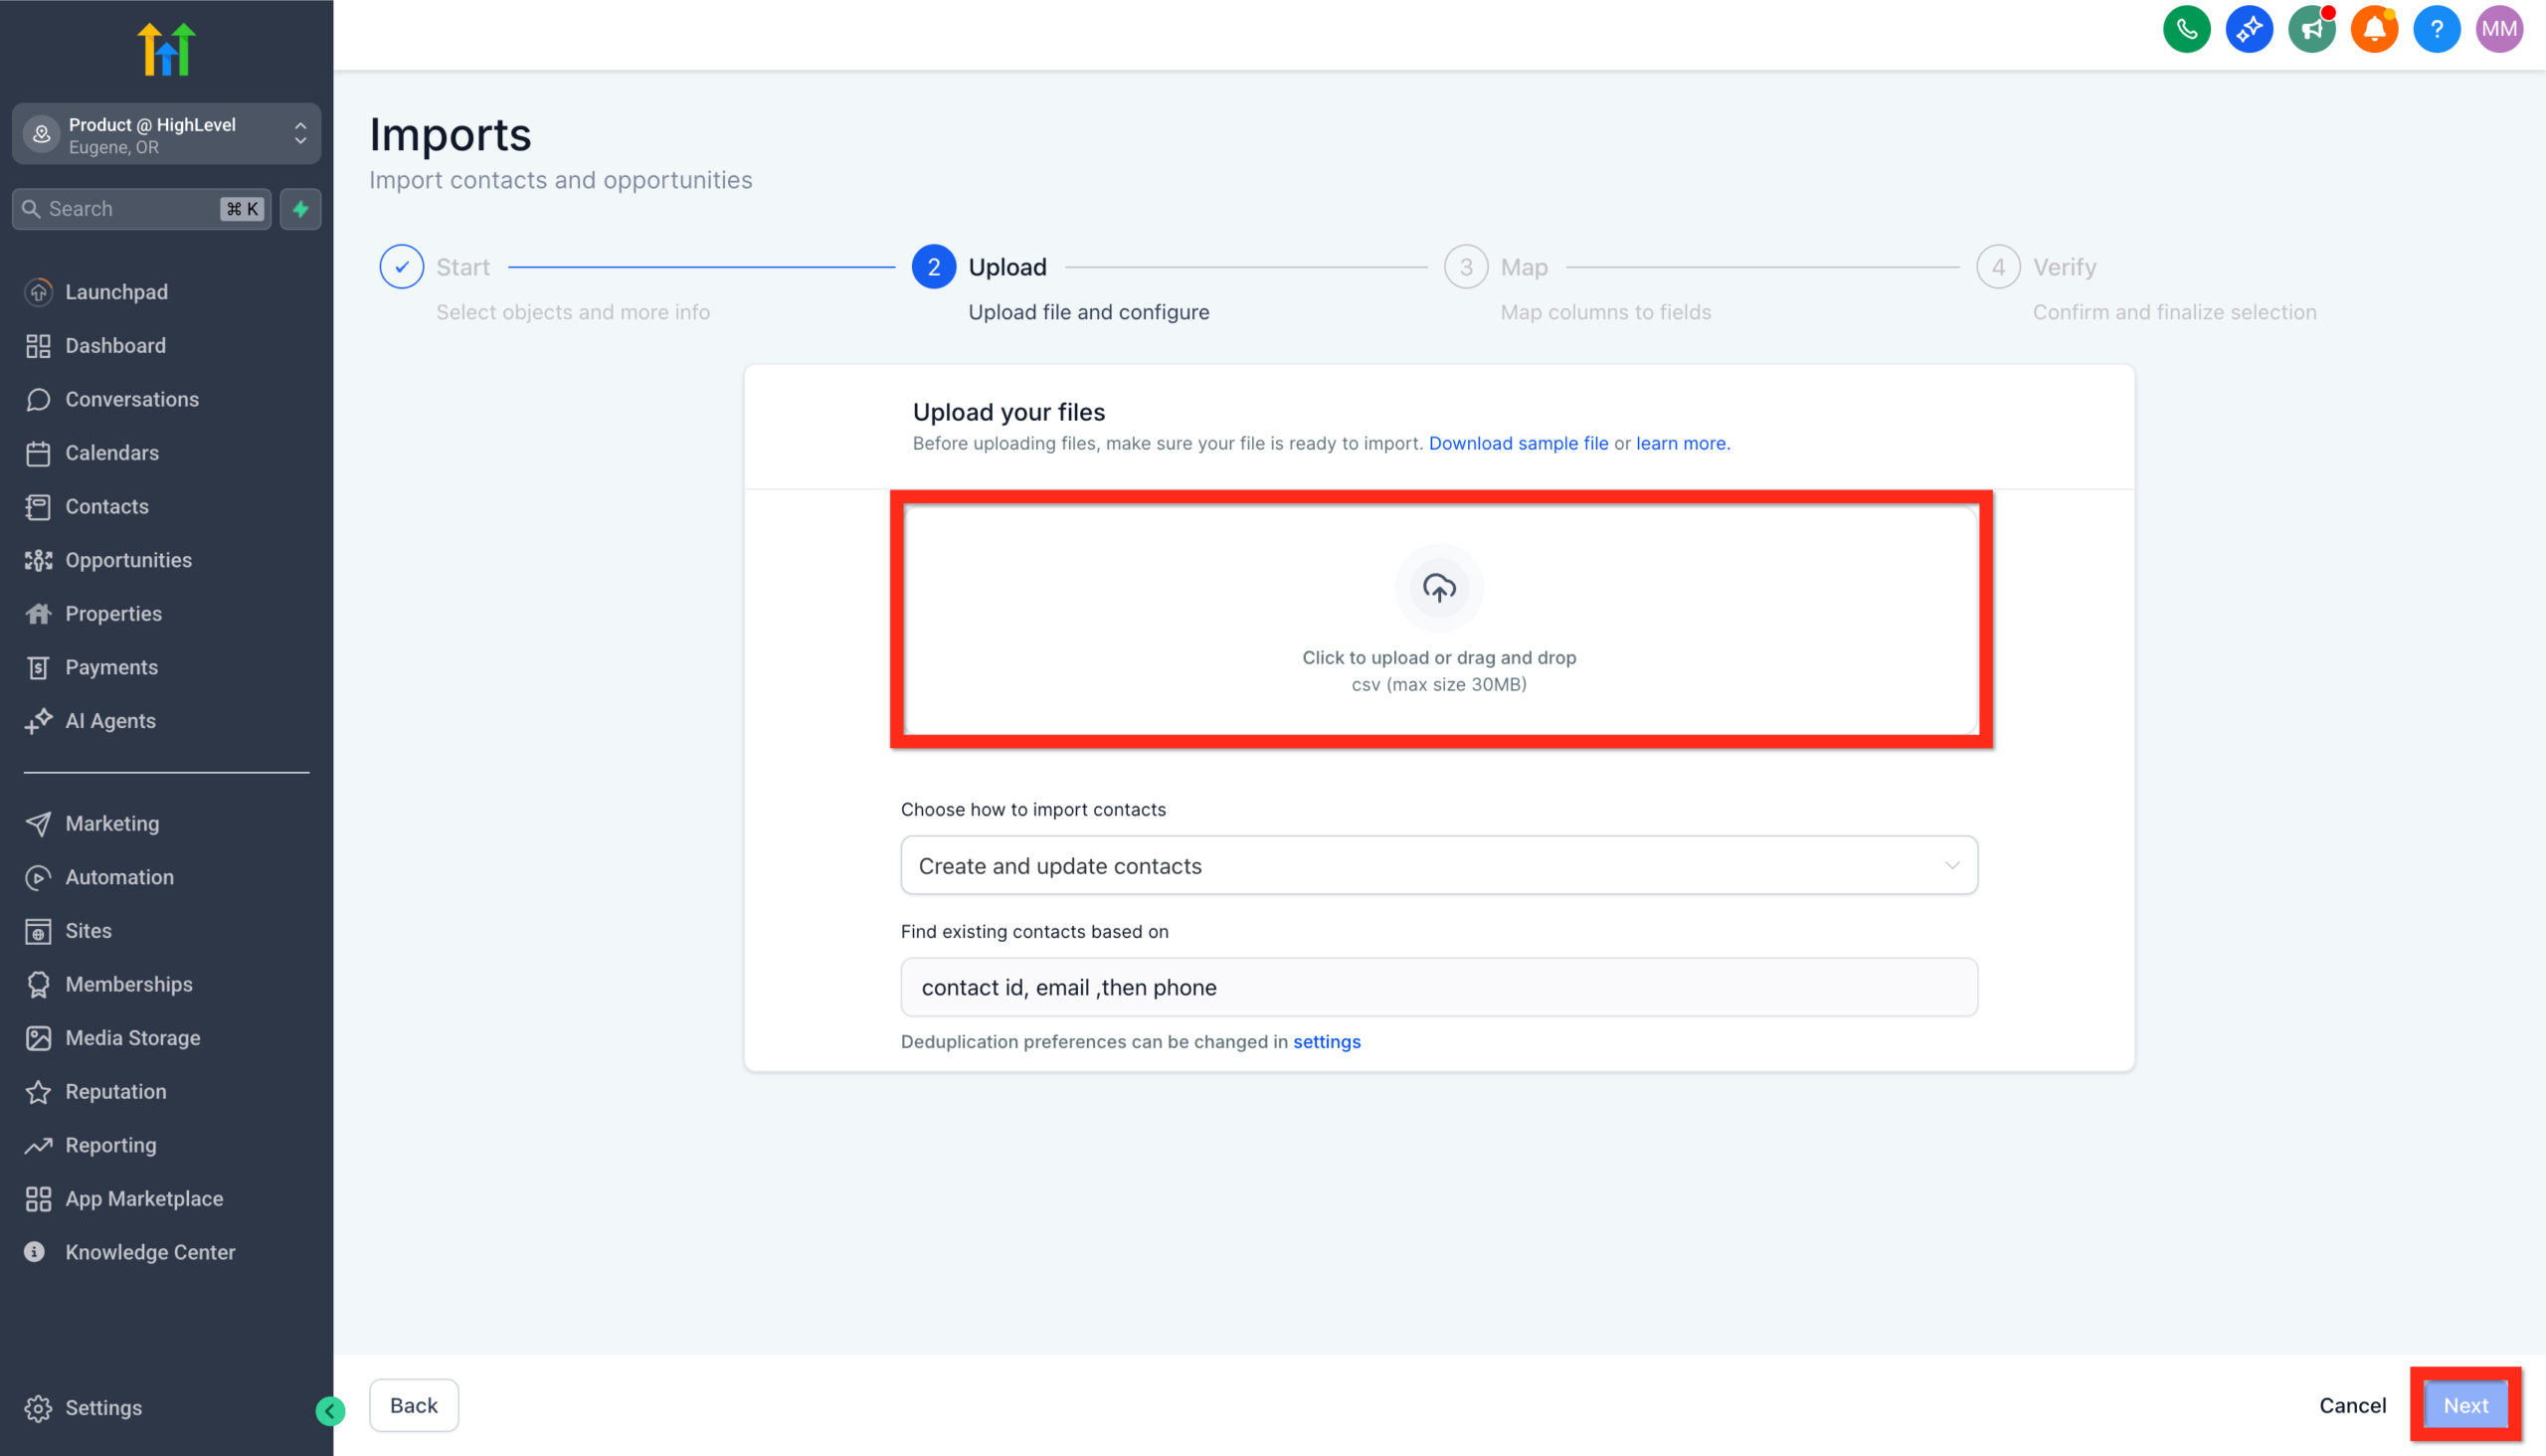 GoHighLevel import wizard showing the file upload section, with options to confirm CSV format and upload a file.” title=”Screenshot of the GoHighLevel import wizard showing the file upload section, with options to confirm CSV format and upload a file.”>
If you want to double‑check what fields GoHighLevel expects, review the official help article here:
Importing Contacts using a CSV file
Step 4 – Map your fields and custom fields
After uploading, GoHighLevel will show a mapping screen where each column from your CSV is matched to a field inside the platform.
-
Match standard fields first
Map columns like:- First Name → First Name
- Last Name → Last Name
- Email → Email
- Phone → Phone
- Company → Business Name
-
Use or create custom fields for business‑specific data
If you have columns such asPlan,Industry, orOnboarding Stage, you can:- Map them to existing custom fields, or
- Create new custom fields from Settings → Custom Fields if they don’t exist yet.
-
Skip columns you don’t need
For purely internal notes or one‑off fields you’ll never use, choose Don’t import so you keep your CRM lean.
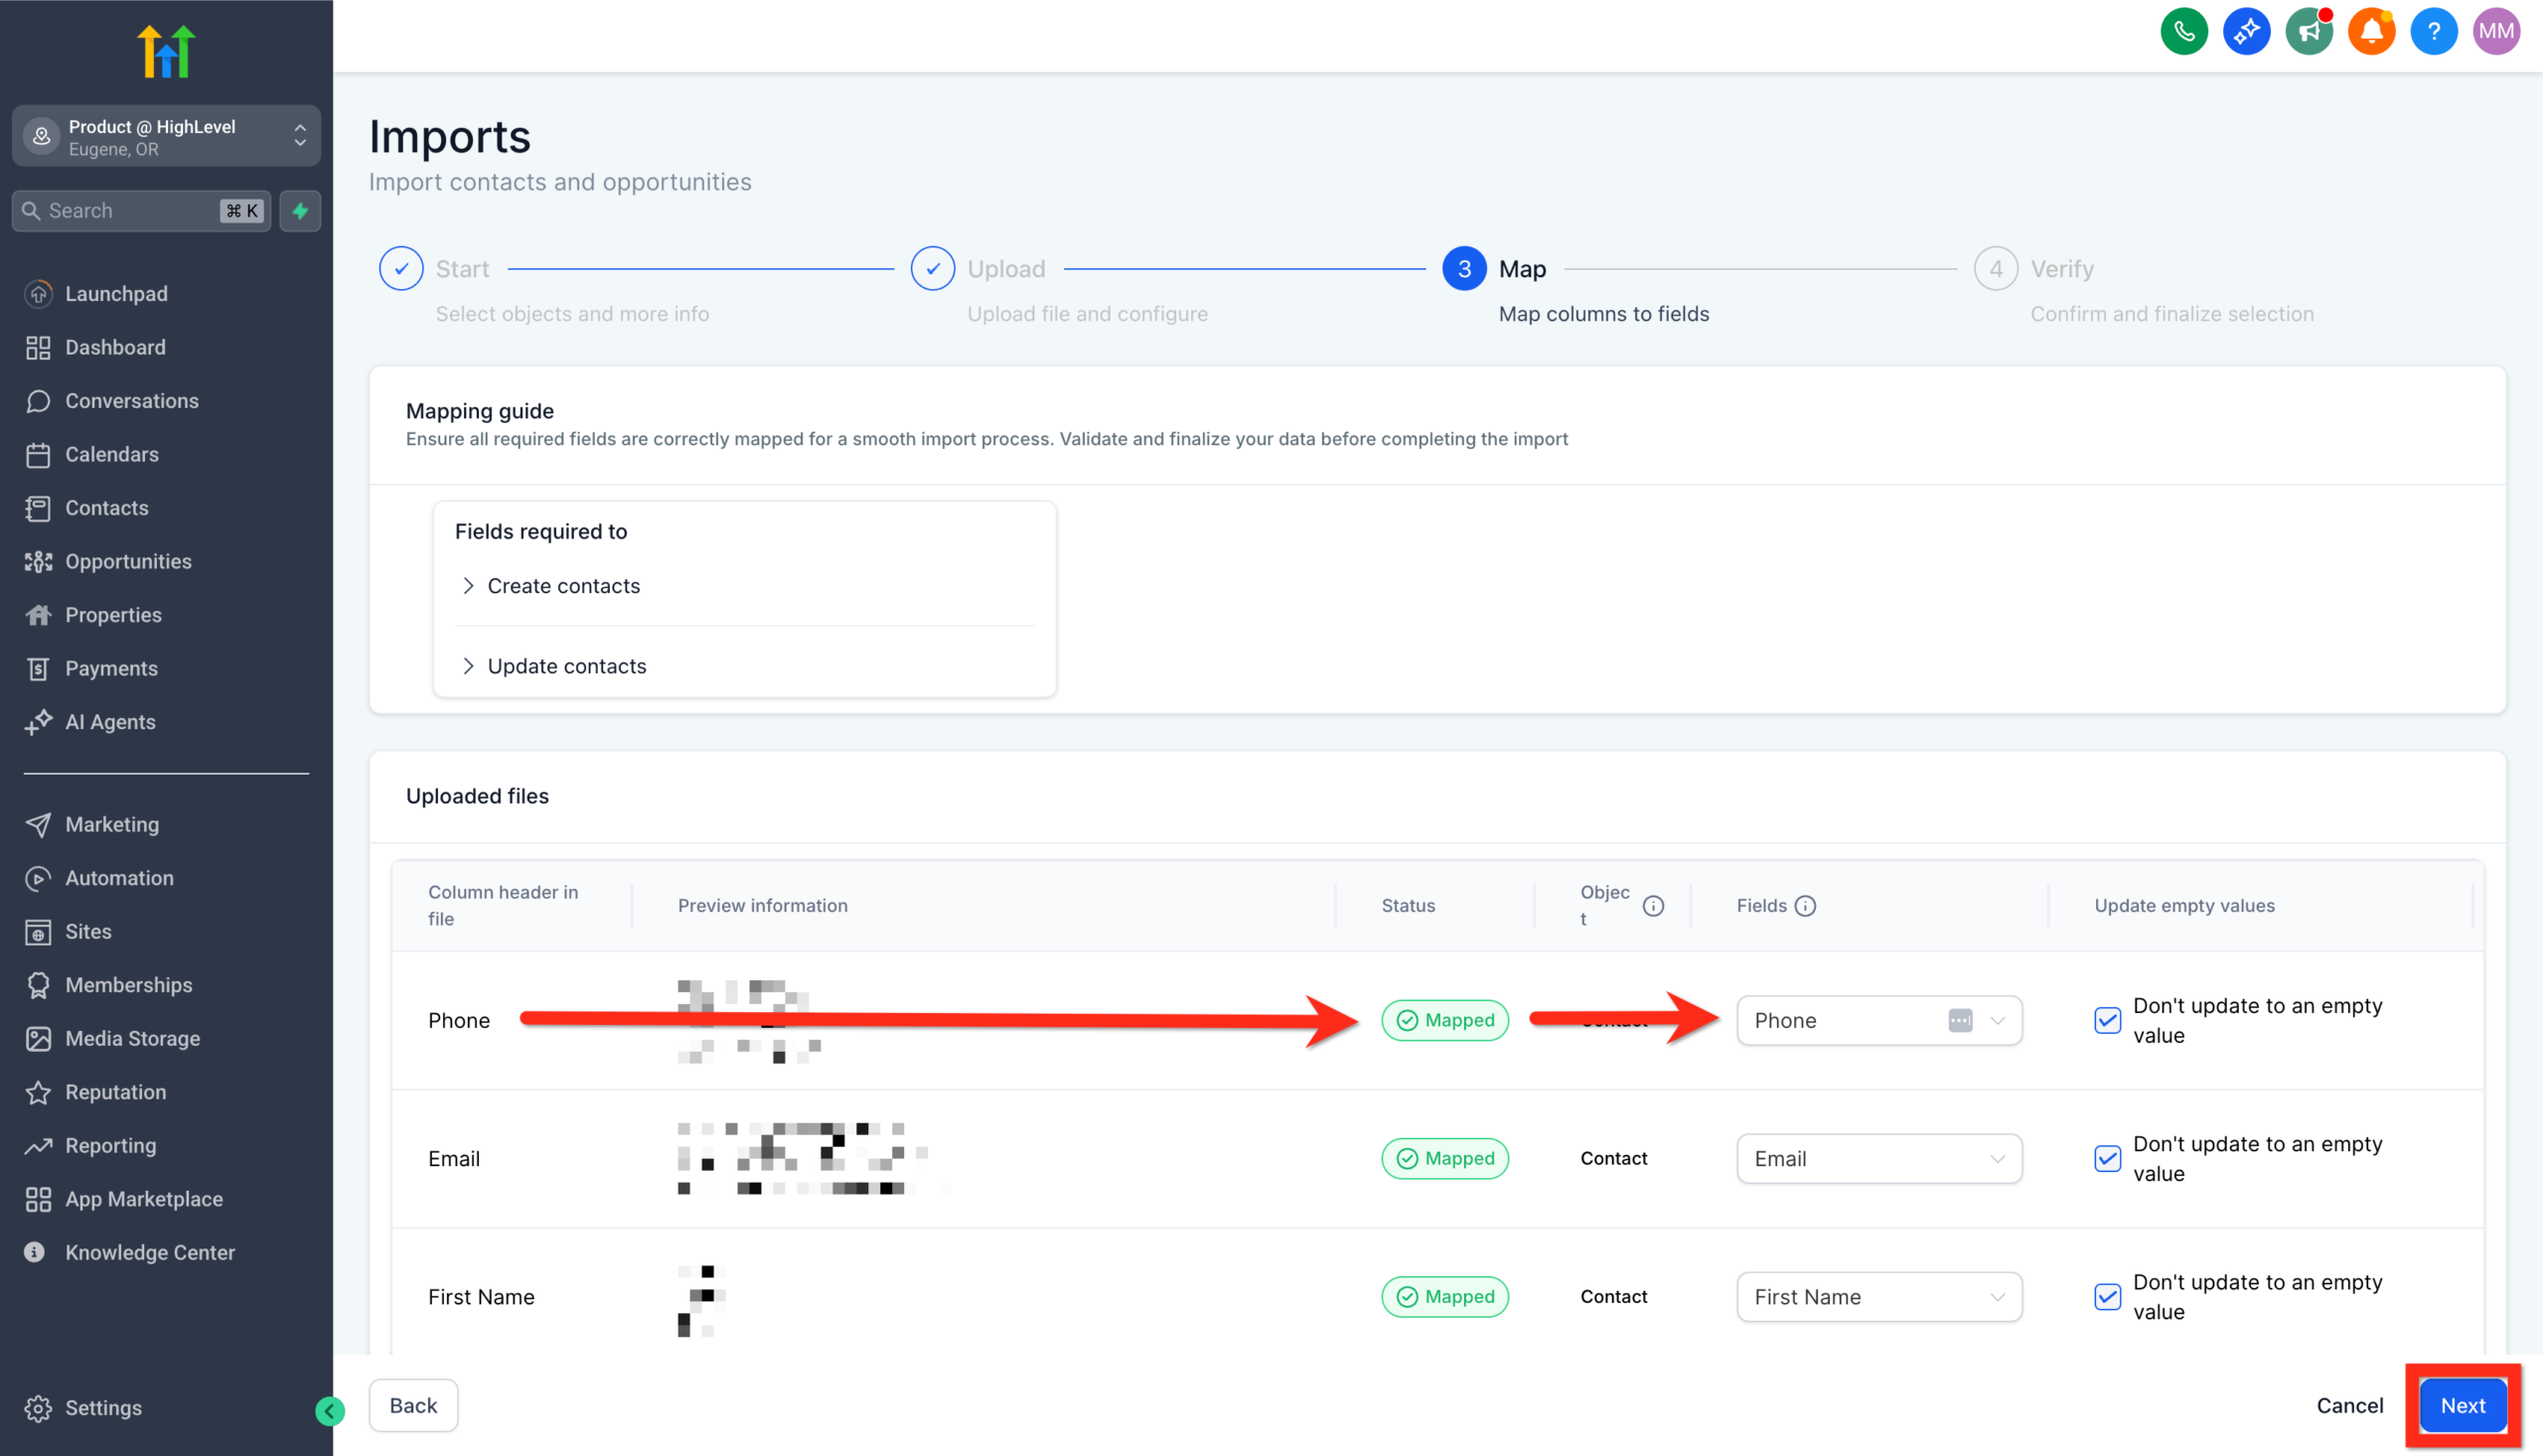 GoHighLevel field mapping screen, showing how to match CSV columns to GoHighLevel fields or choose 'Don't import'.” title=”Screenshot of the GoHighLevel field mapping screen, showing how to match CSV columns to GoHighLevel fields or choose 'Don't import'.”>
If you need a deeper primer on building the right custom fields, review the companion Revset Labs guide:
Getting Started – Create and Manage Contacts in GoHighLevel
Step 5 – Set import options, tags, and segments
Before you hit "go", think about how these contacts should behave on day one inside GoHighLevel.
-
Choose how to handle existing records
Depending on your setup, GoHighLevel may let you:- Create only new contacts.
- Update only existing contacts (matched by email or phone).
- Create & update in a single pass.
Pick the option that best reflects whether you’re migrating into a fresh account or topping up an existing database.
-
Configure deduplication behavior
Visit the Allow Duplicate Contacts (Contact Deduplication Preferences) settings to decide how GoHighLevel should treat matching emails or phone numbers:
Allow Duplicate Contacts (Contact Deduplication Preferences)
-
Apply tags on import
Add tags such as:Imported-2026-02From-HubSpotLegacy-Newsletter
These tags make it easy to later filter this batch, compare performance across sources, or clean up if needed.
-
Add contacts to a Smart List or segment
Consider dropping them into a Smart List (for example, “Imported – Warm Leads”) so you can quickly target just this segment for follow‑up. -
Respect consent and compliance
Make sure you only send marketing messages to contacts who have given appropriate consent. Use tags or custom fields (for example,Email Opt-In,SMS Opt-In) to track permission clearly.
Step 6 – Launch the import and monitor progress
Once everything looks right:
- Confirm your import settings and click Bulk Import (or the equivalent button in your GoHighLevel account).
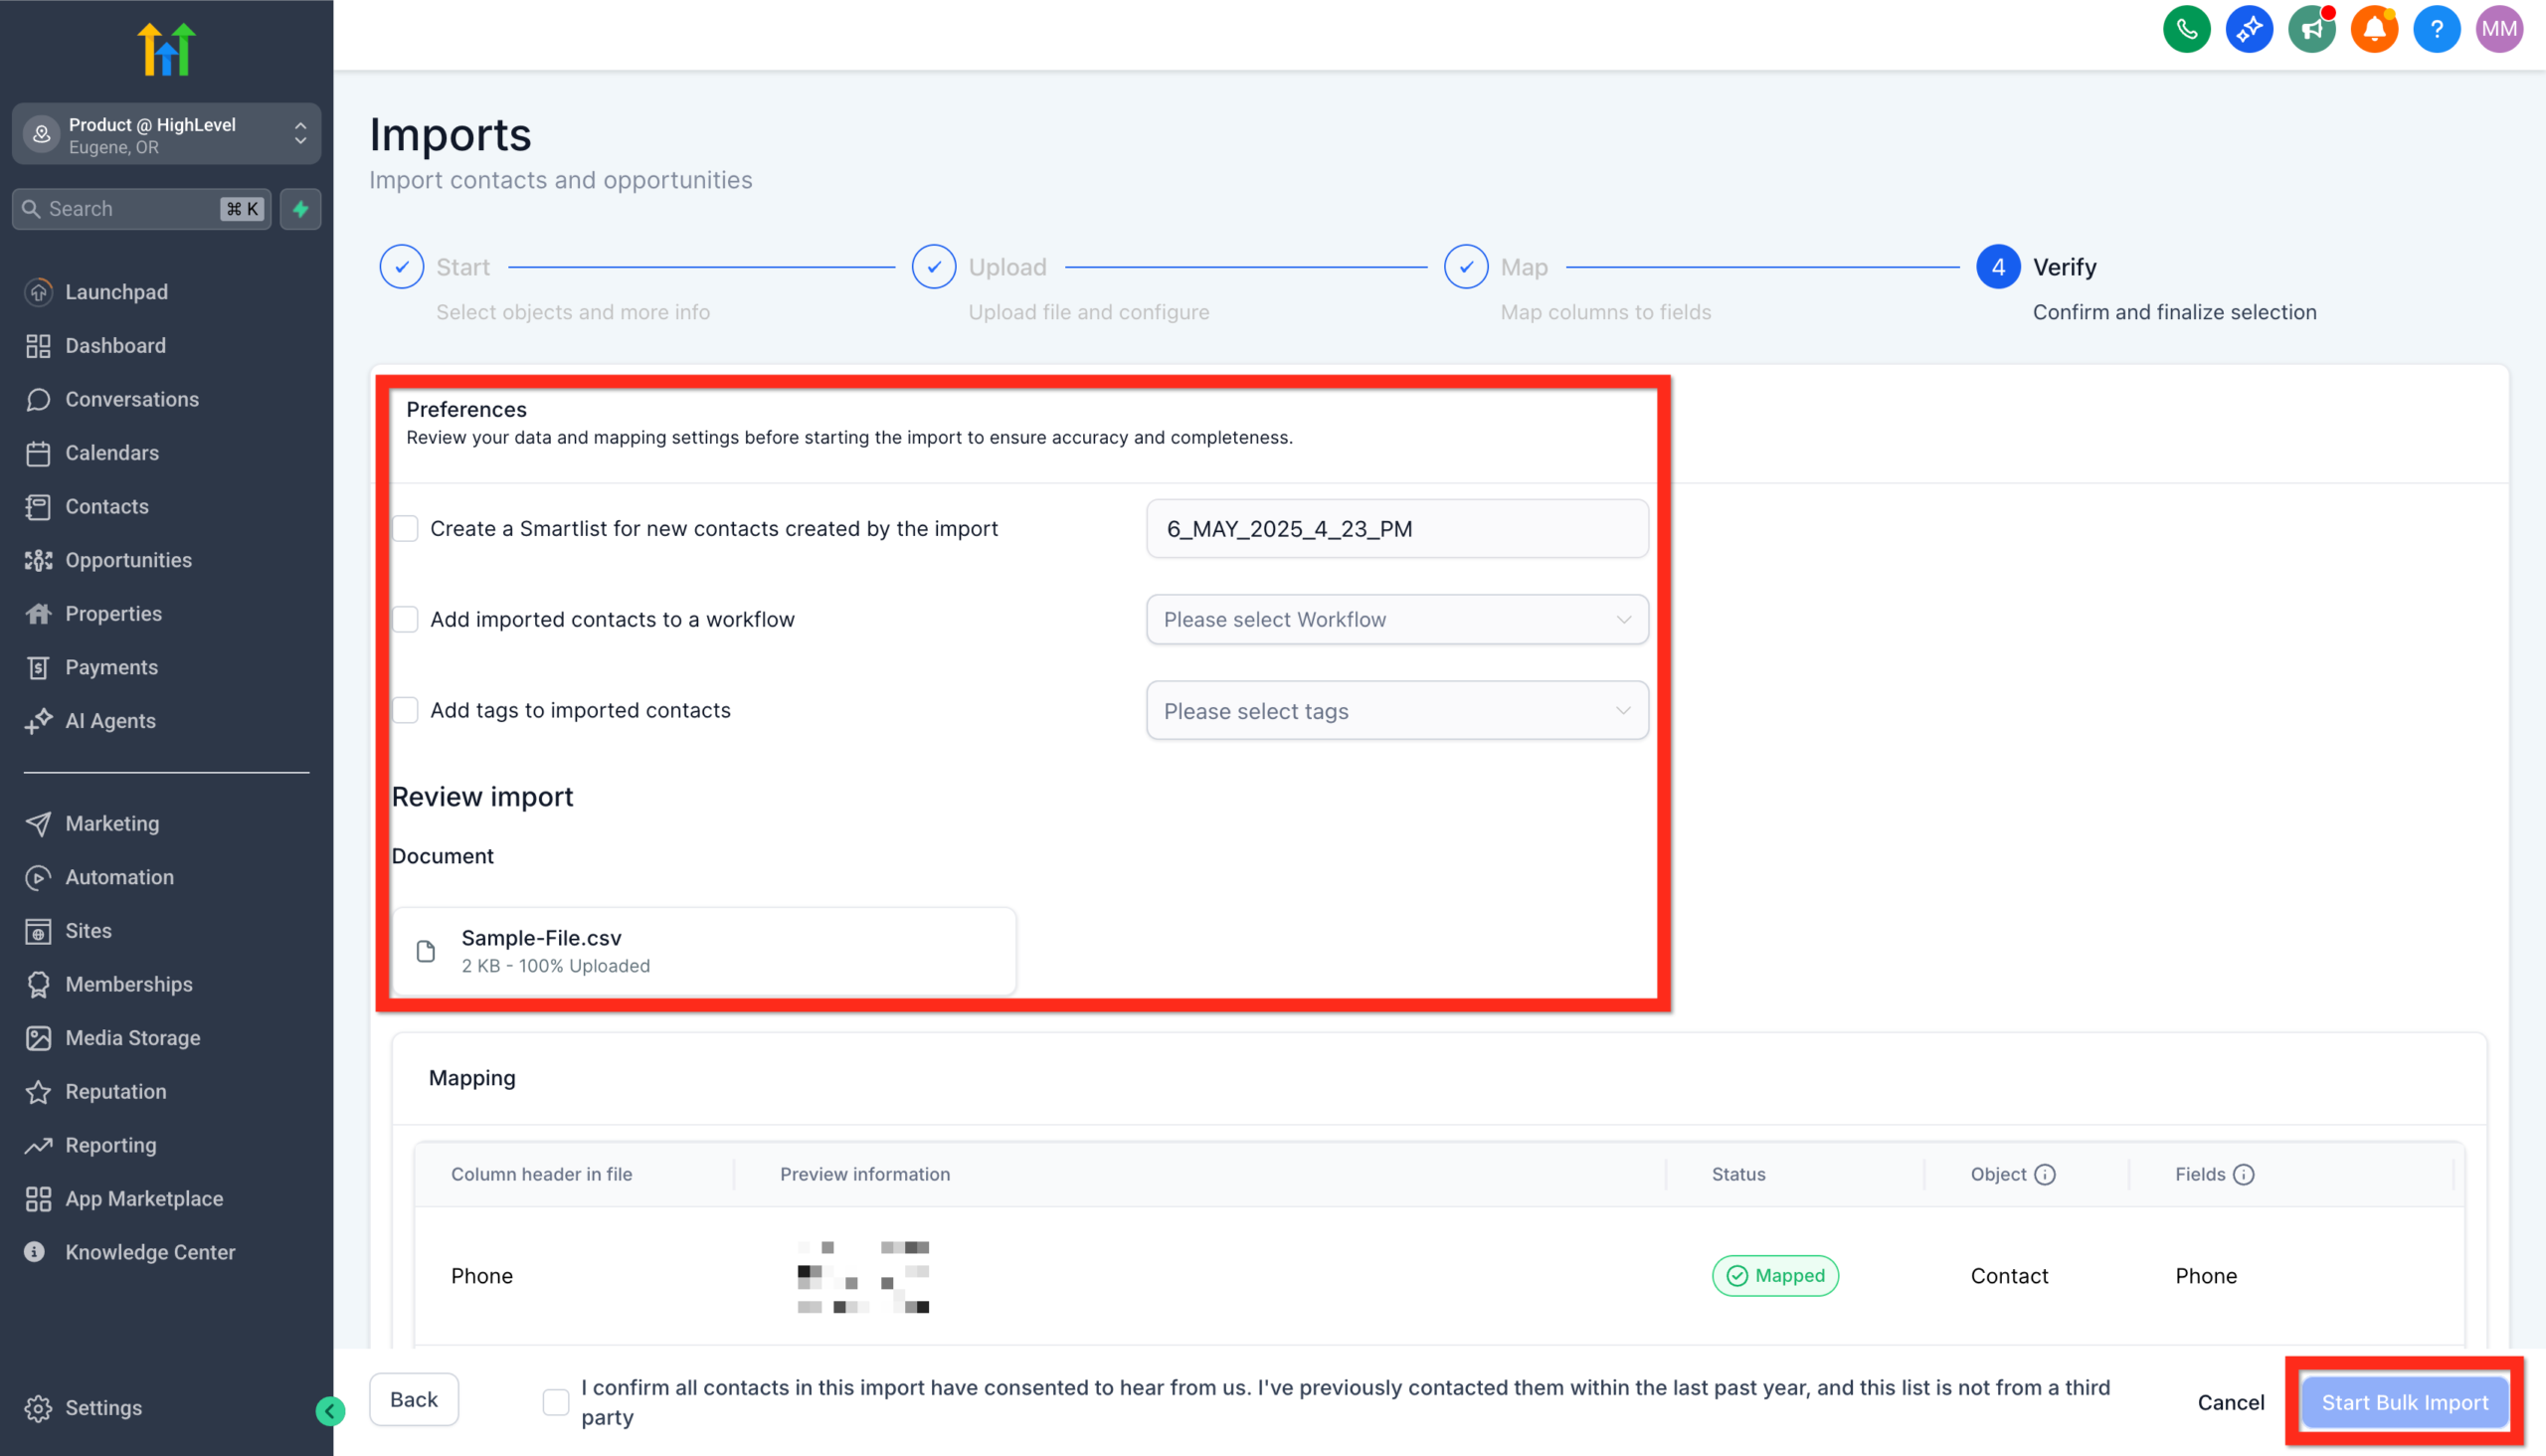 GoHighLevel import details screen, where users can name the import, create lists, set consent, and click 'Bulk Import'.” title=”Screenshot of the GoHighLevel import details screen, where users can name the import, create lists, set consent, and click 'Bulk Import'.”>
 - The system will start processing your CSV in the background.
- Use the Bulk Actions or Import History area to:
- Track progress.
- See how many rows succeeded or failed.
- Download any error log to fix formatting or data issues and re‑import those rows.
When things go wrong, the error log is your friend. Common issues include:
- Invalid emails or phone numbers.
- Missing required fields.
- Conflicting deduplication rules.
Turn imported contacts into revenue with automations
Getting contacts into GoHighLevel is only step one. The real win is what happens next.
Here are a few simple but high‑impact automations you can set up for imported contacts:
-
Warm‑up sequence for re‑engagement
Trigger a workflow when theImported-2026-02tag is added:- Day 0: “We’ve moved your account" email explaining the new experience.
- Day 2: Value email (top content, FAQs, or quick wins).
- Day 5: Soft call‑to‑action to book a call or reply with questions.
-
Sales follow‑up for high‑intent leads
If your CSV includes aStatusorLifecycle Stagecolumn, use that to:- Immediately create pipeline opportunities for hot leads.
- Notify the right rep in Slack or email when a high‑value record is imported.
-
Onboarding checklists
For imported customers (not just leads), trigger tasks and communications that walk them through onboarding over the first 30 days.
GoHighLevel is built to connect all of this—contacts, tags, workflows, pipelines—into one engine. If you’re evaluating platforms, you can feel this difference quickly by building a small real‑world automation inside a trial account:
Start testing GoHighLevel with a free trial
How to Create New Custom Fields
Personalize your contact data to match your unique business needs. Creating custom fields lets you capture exactly the information you find valuable, allowing for precise targeting and richer insights.
Here's how to set up your custom fields:
- Navigate to Settings > Custom Fields.
- Click Add Field.
 GoHighLevel's Custom Fields settings.” title=”Screenshot showing the 'Add Field' button in GoHighLevel's Custom Fields settings.”>
 - Select the type of field you need.
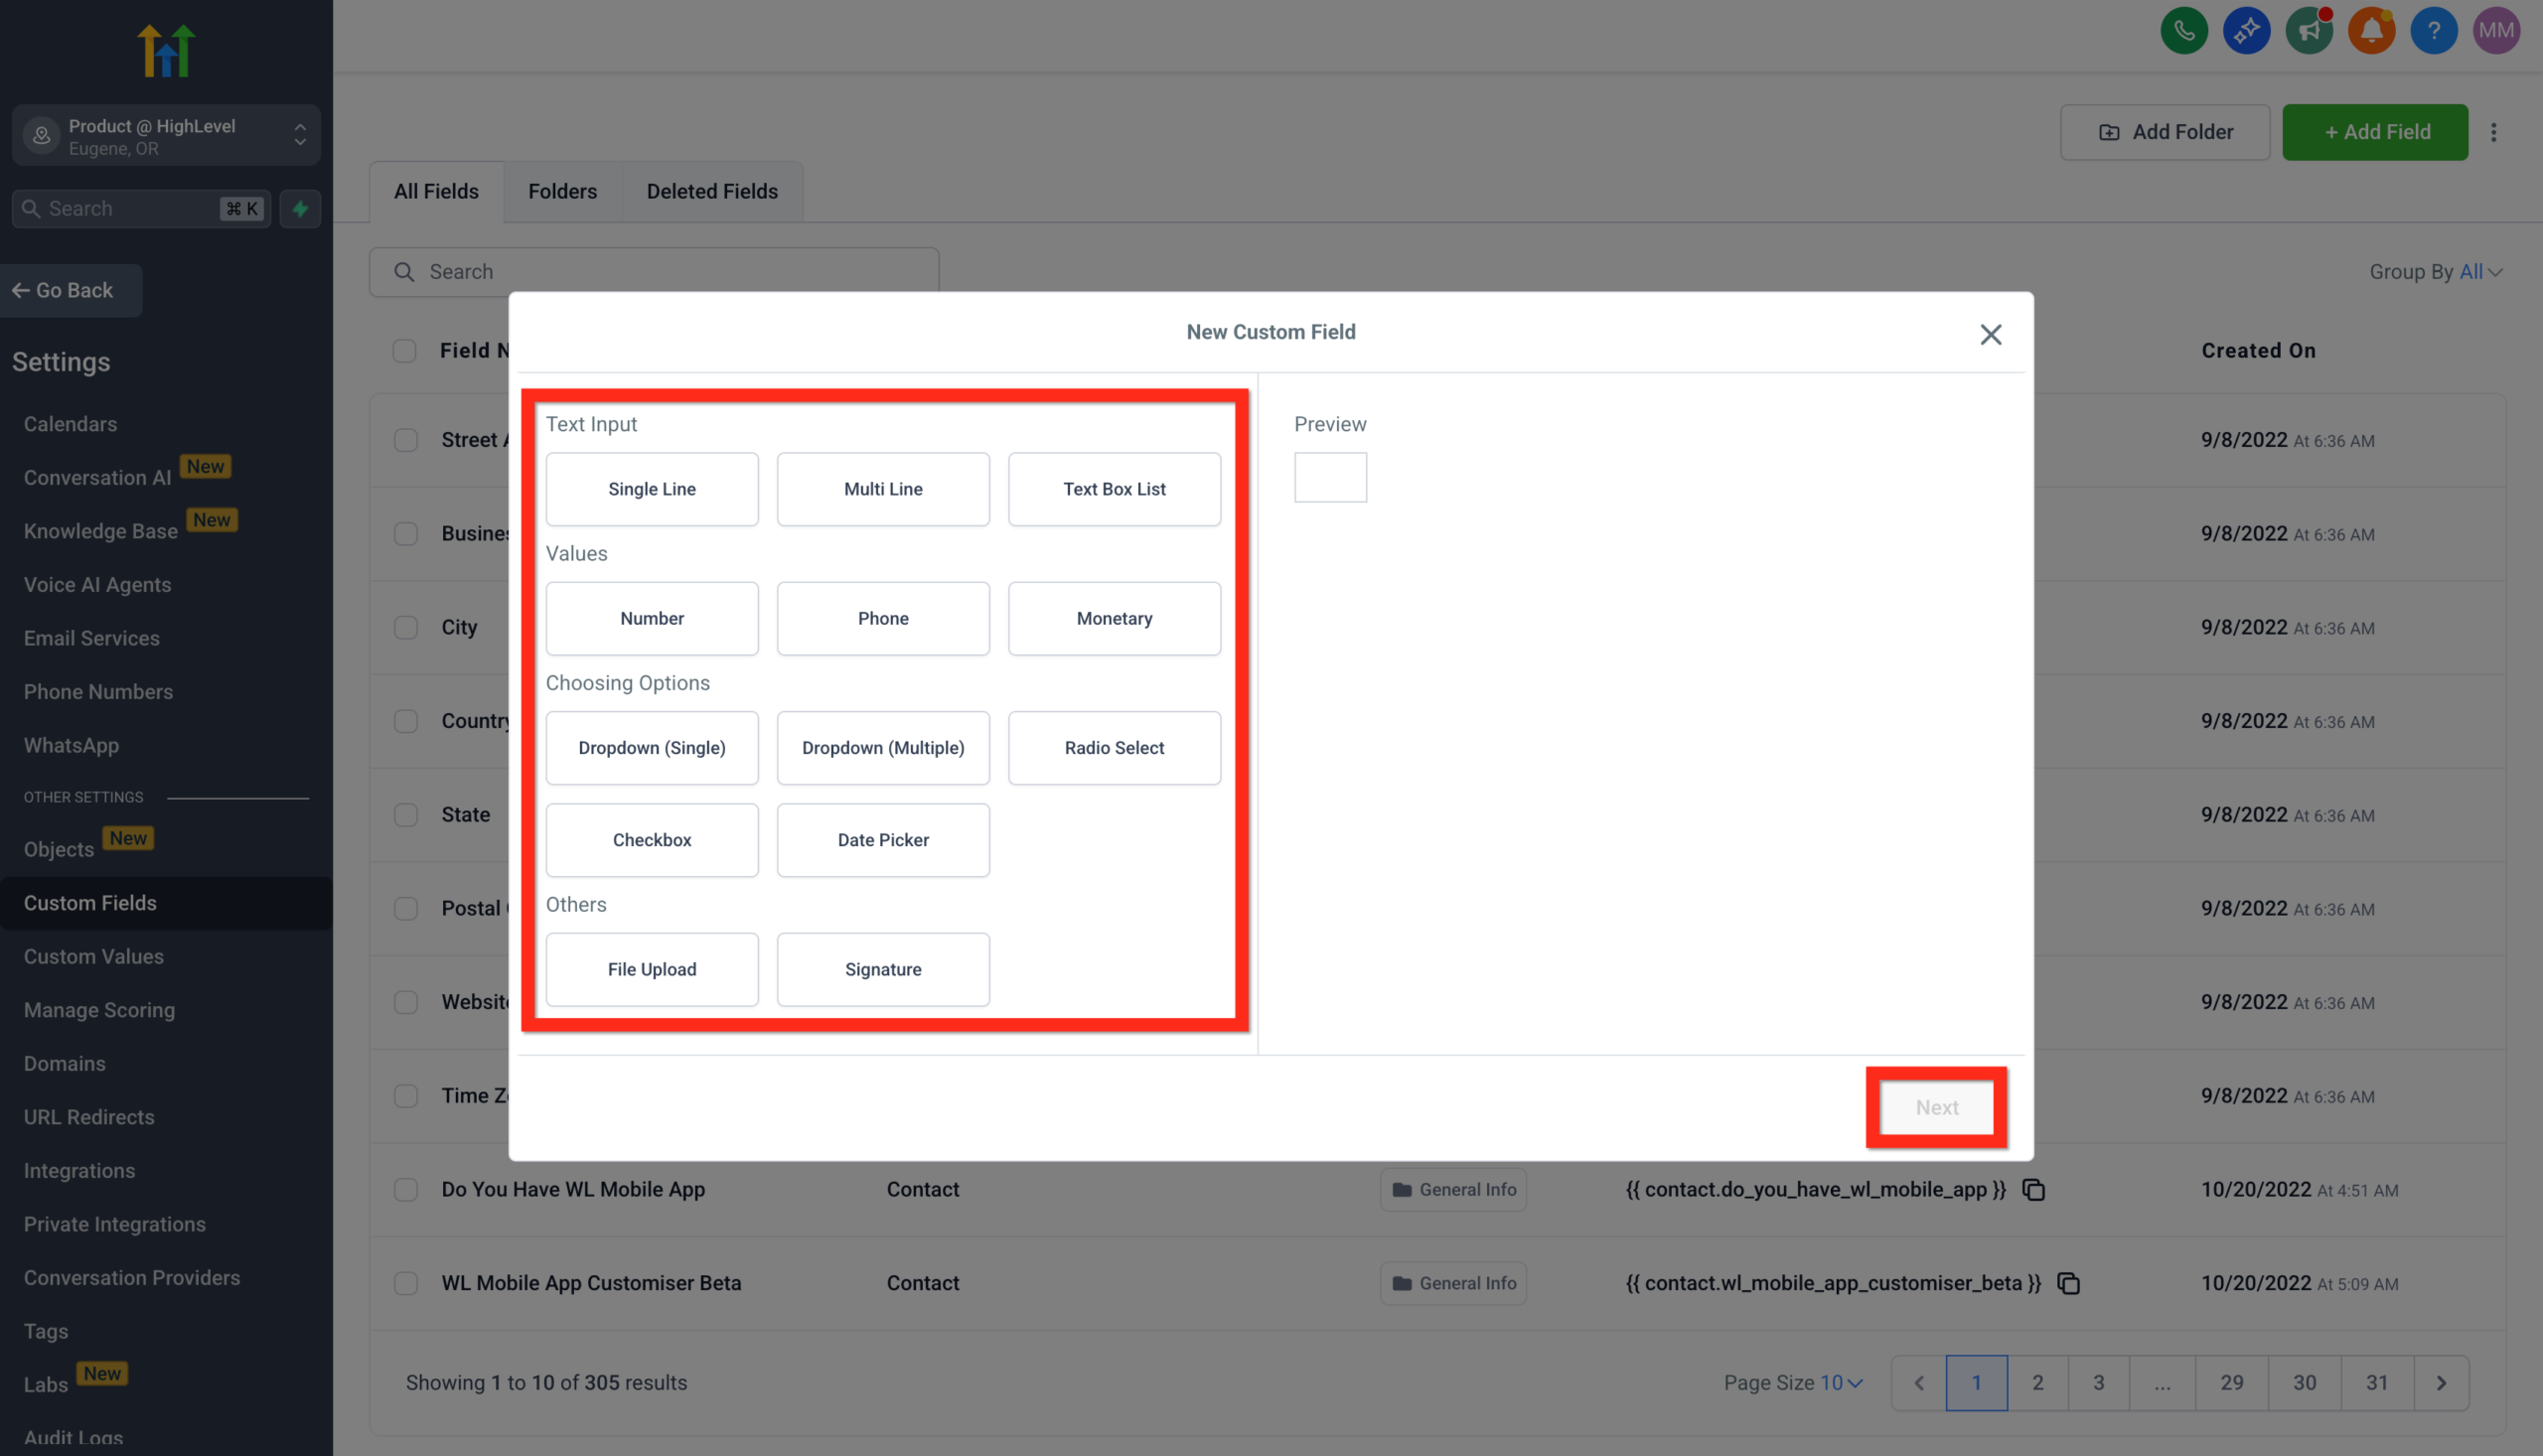 GoHighLevel, showing various field options like text, number, dropdown.” title=”Screenshot of the custom field type selection in GoHighLevel, showing various field options like text, number, dropdown.”>
 - Fill in the field details (name, group, placeholder, etc.).
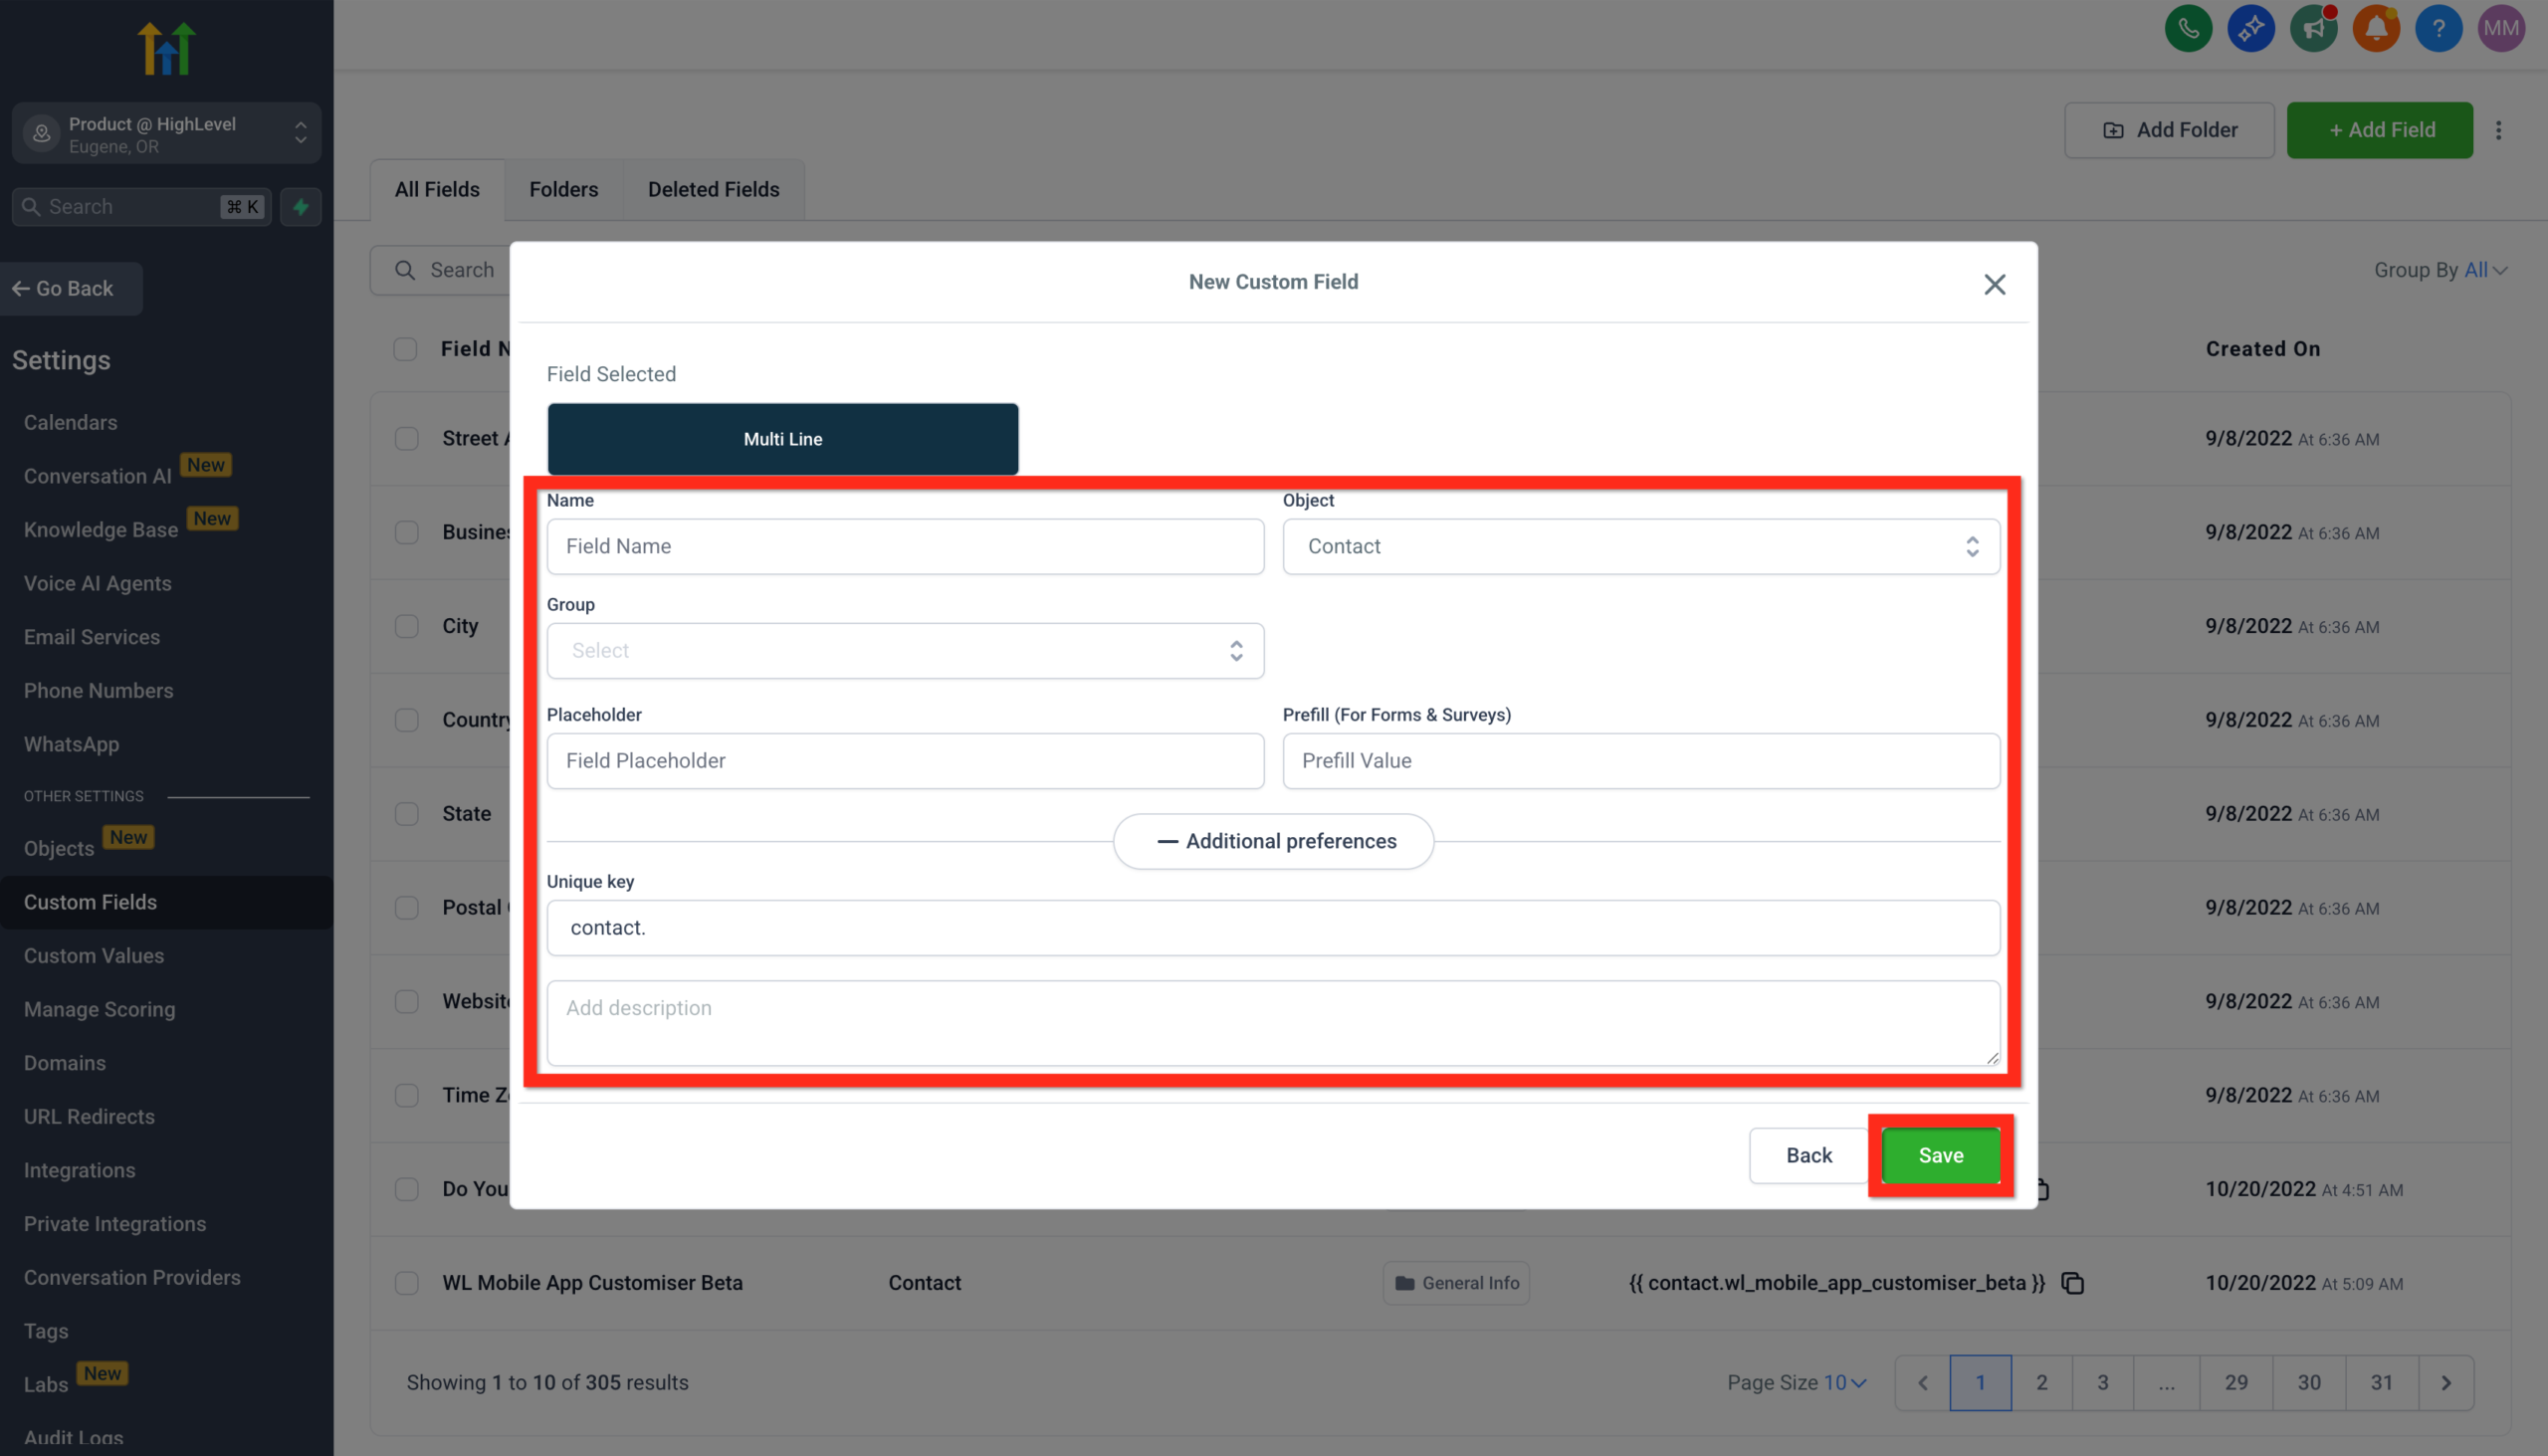 GoHighLevel, allowing input for name, group, and placeholder.” title=”Screenshot of the custom field details configuration in GoHighLevel, allowing input for name, group, and placeholder.”>
 - Click Save.
Learn more:
Next, leverage your custom fields to enhance your campaigns and messaging!
Bulk Contact Actions
Effortlessly manage large groups of contacts with powerful bulk actions. Whether you're adding tags, sending emails, or initiating automations, bulk actions save you time and amplify your efficiency.
Here's how you do it:
- Navigate to Contacts.
 GoHighLevel dashboard with the 'Contacts' menu item highlighted in the left navigation bar.” title=”Screenshot of the GoHighLevel dashboard with the 'Contacts' menu item highlighted in the left navigation bar.”>
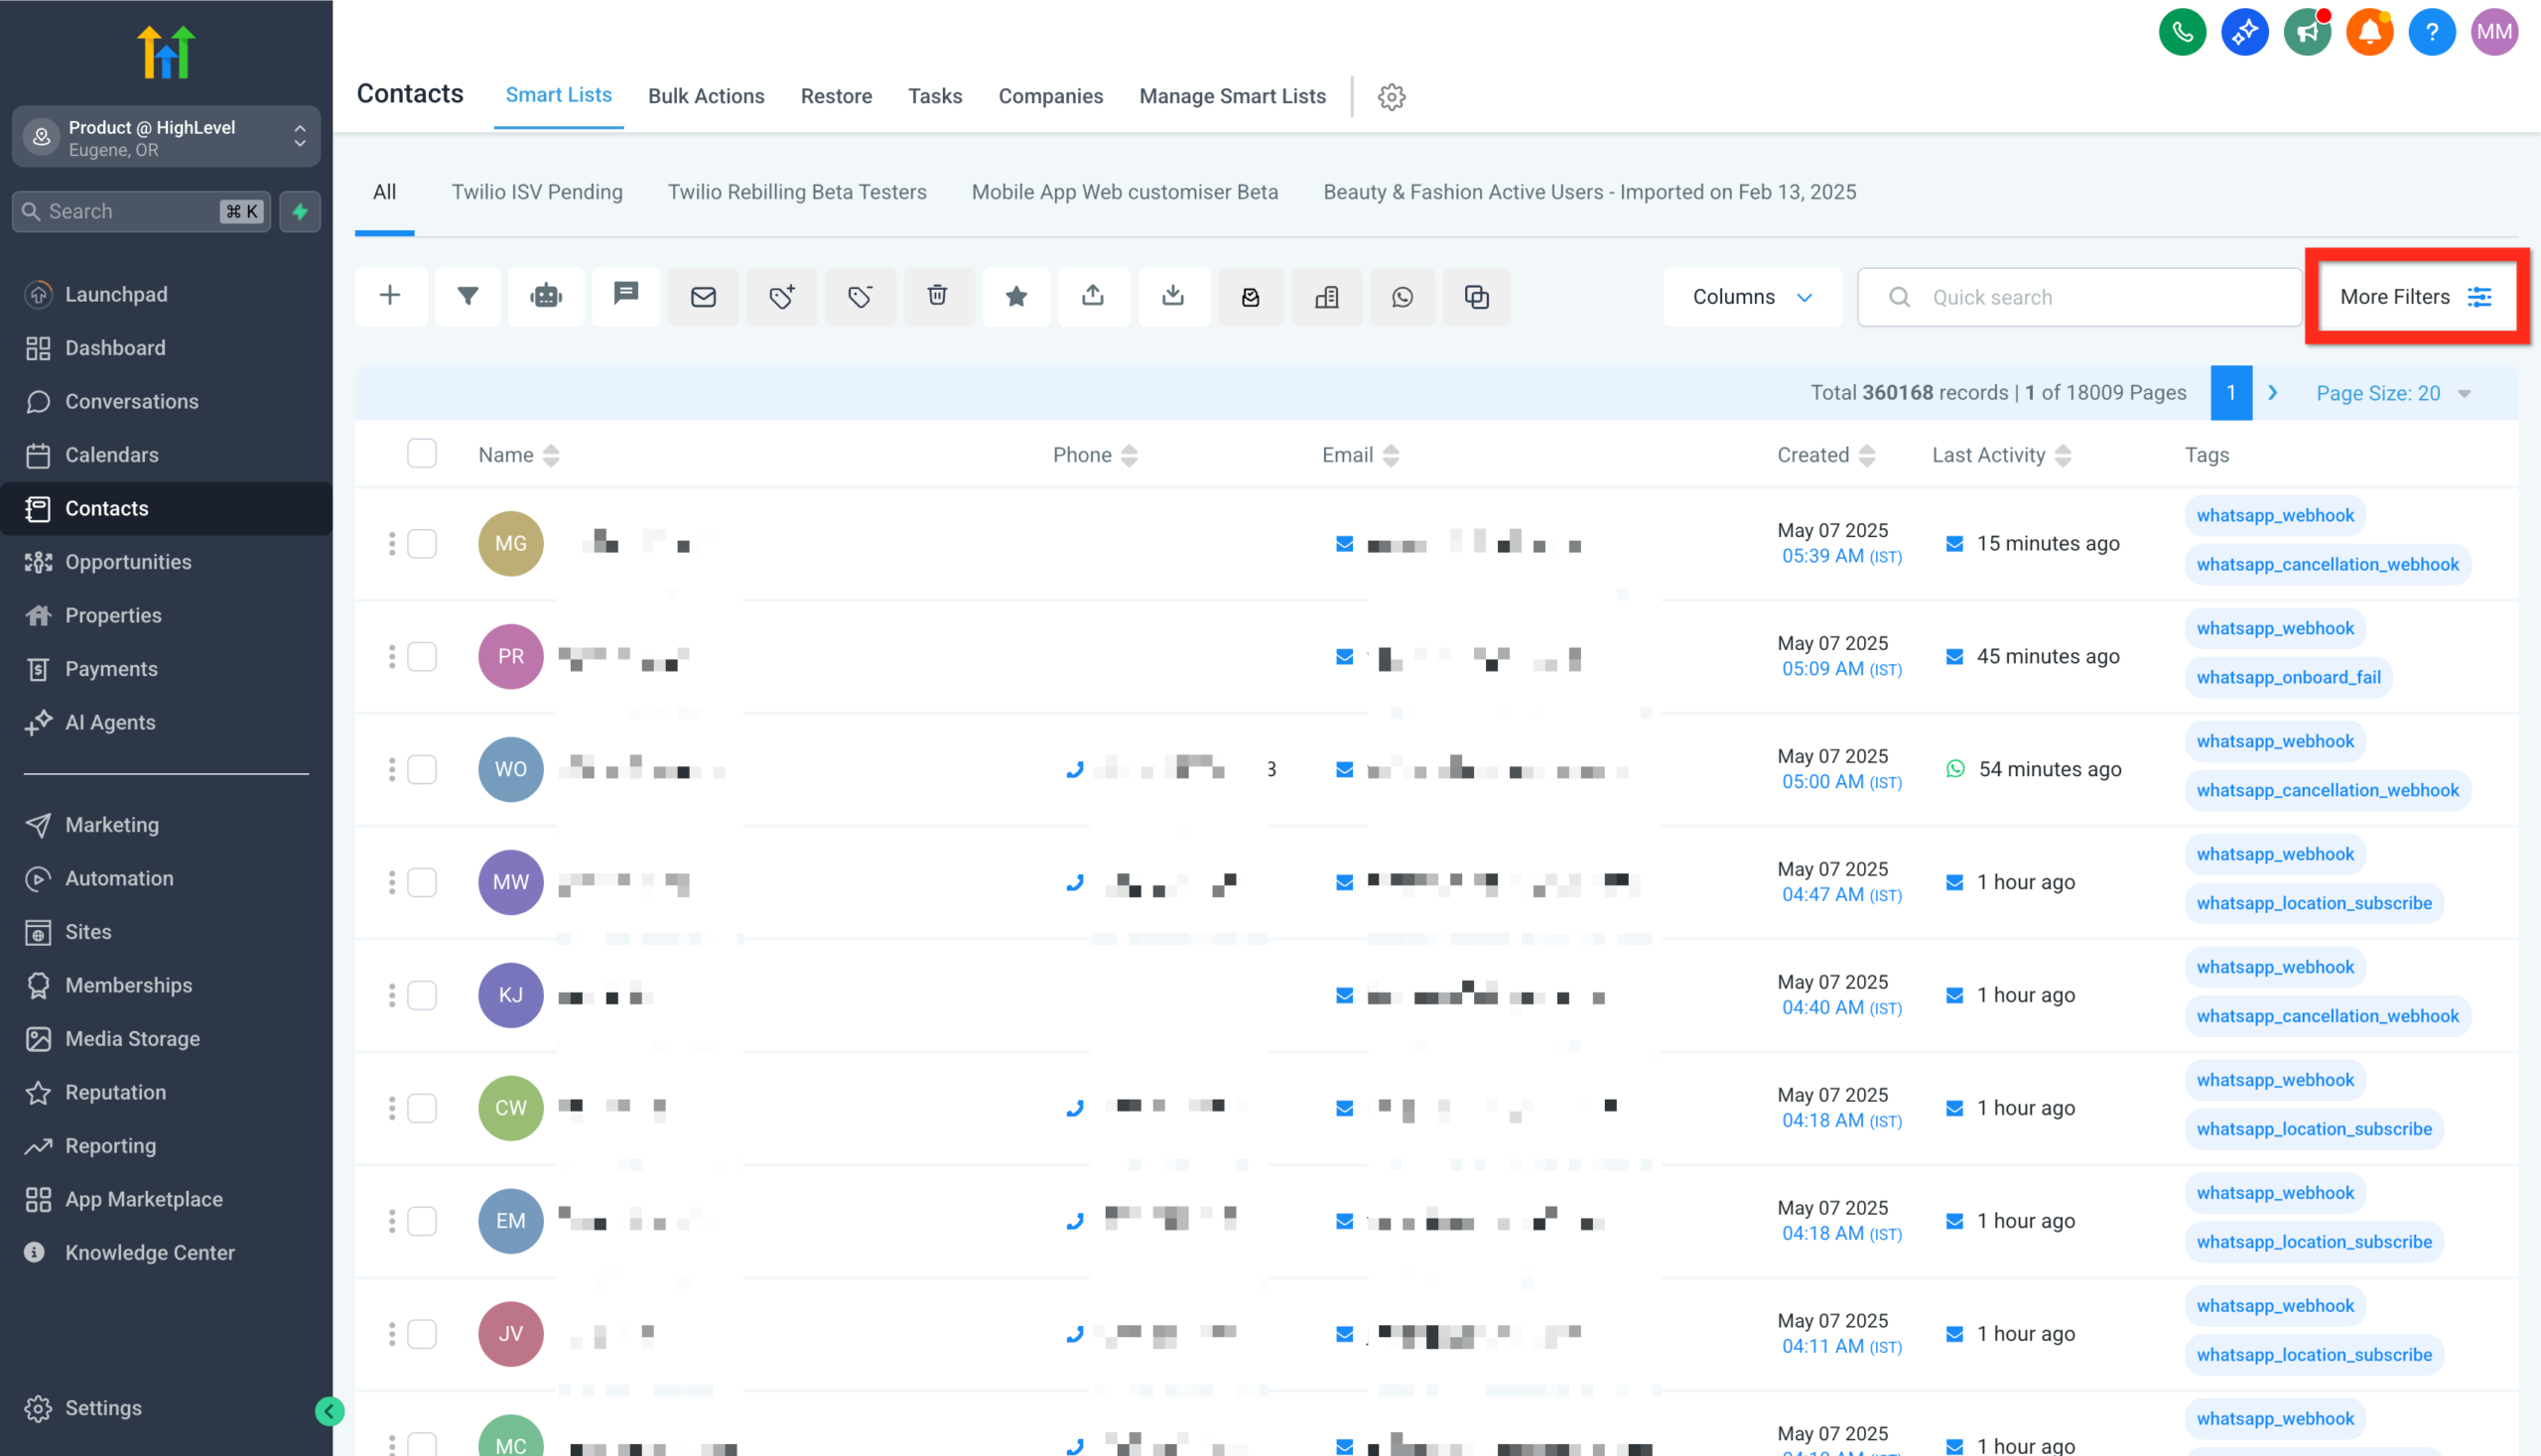
 - Apply filters to narrow down your audience.
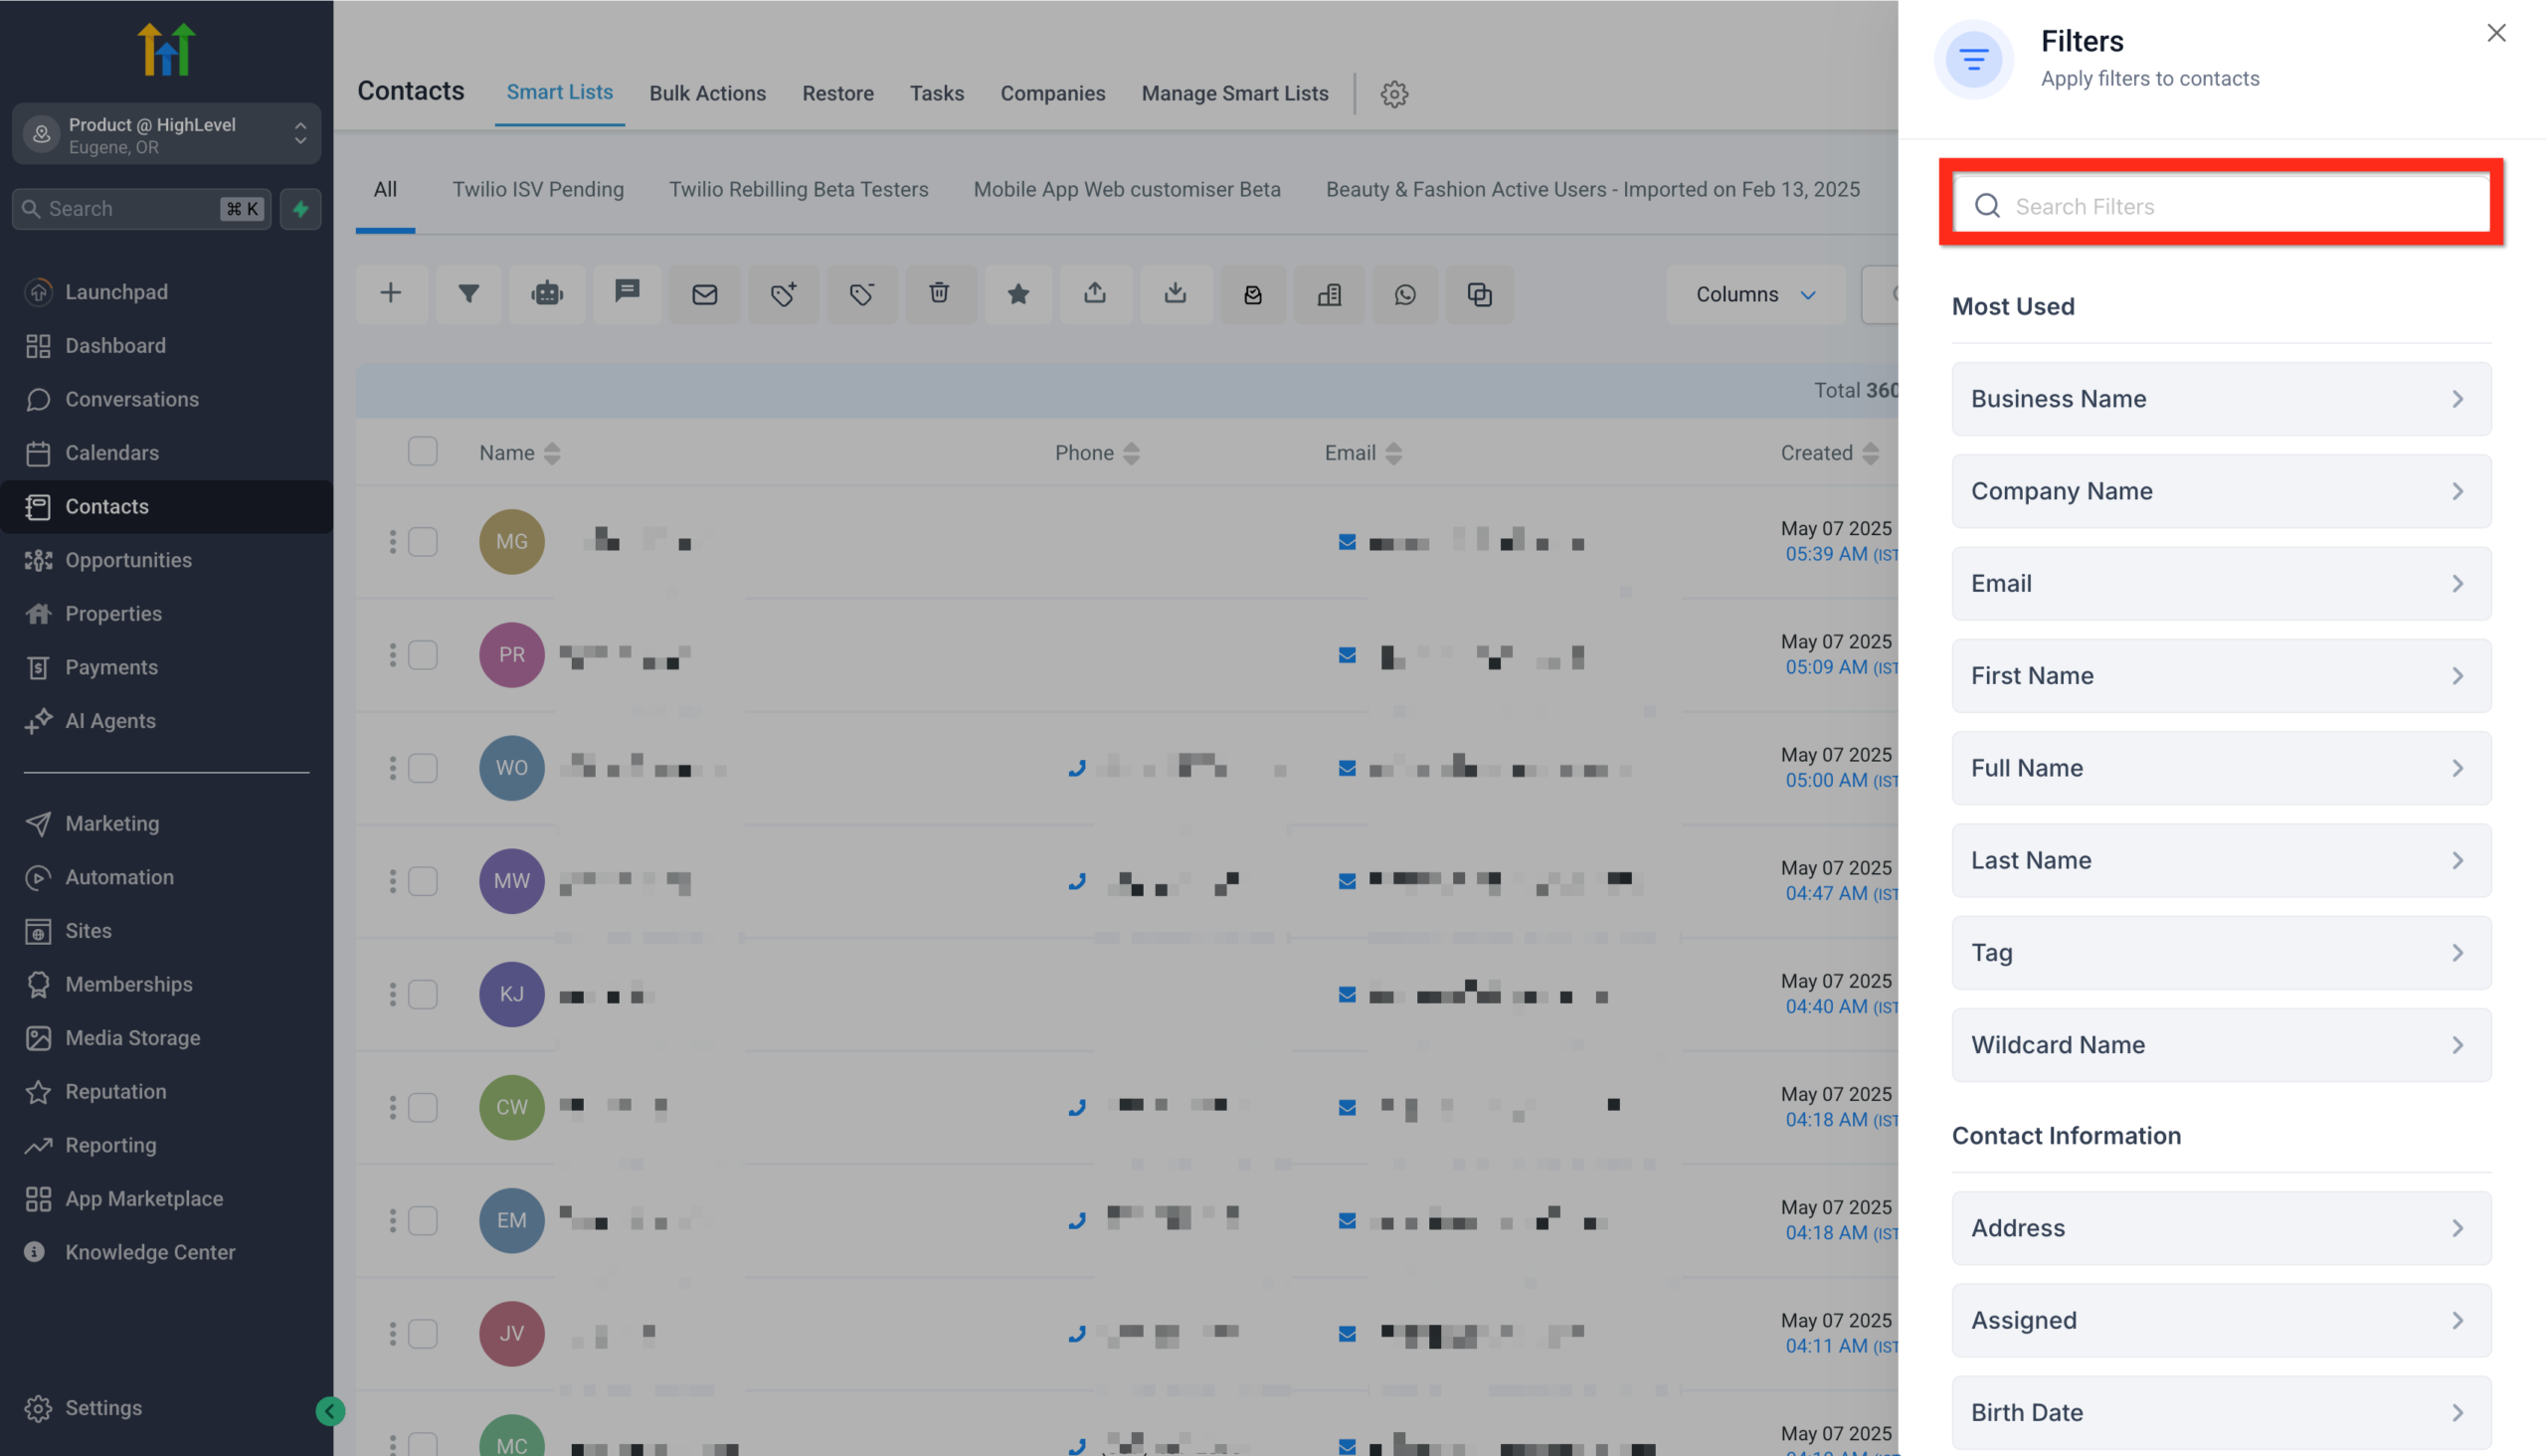 GoHighLevel Contacts page showing filter options to narrow down the audience.” title=”Screenshot of the GoHighLevel Contacts page showing filter options to narrow down the audience.”>
 - Select checkboxes next to your chosen contacts.
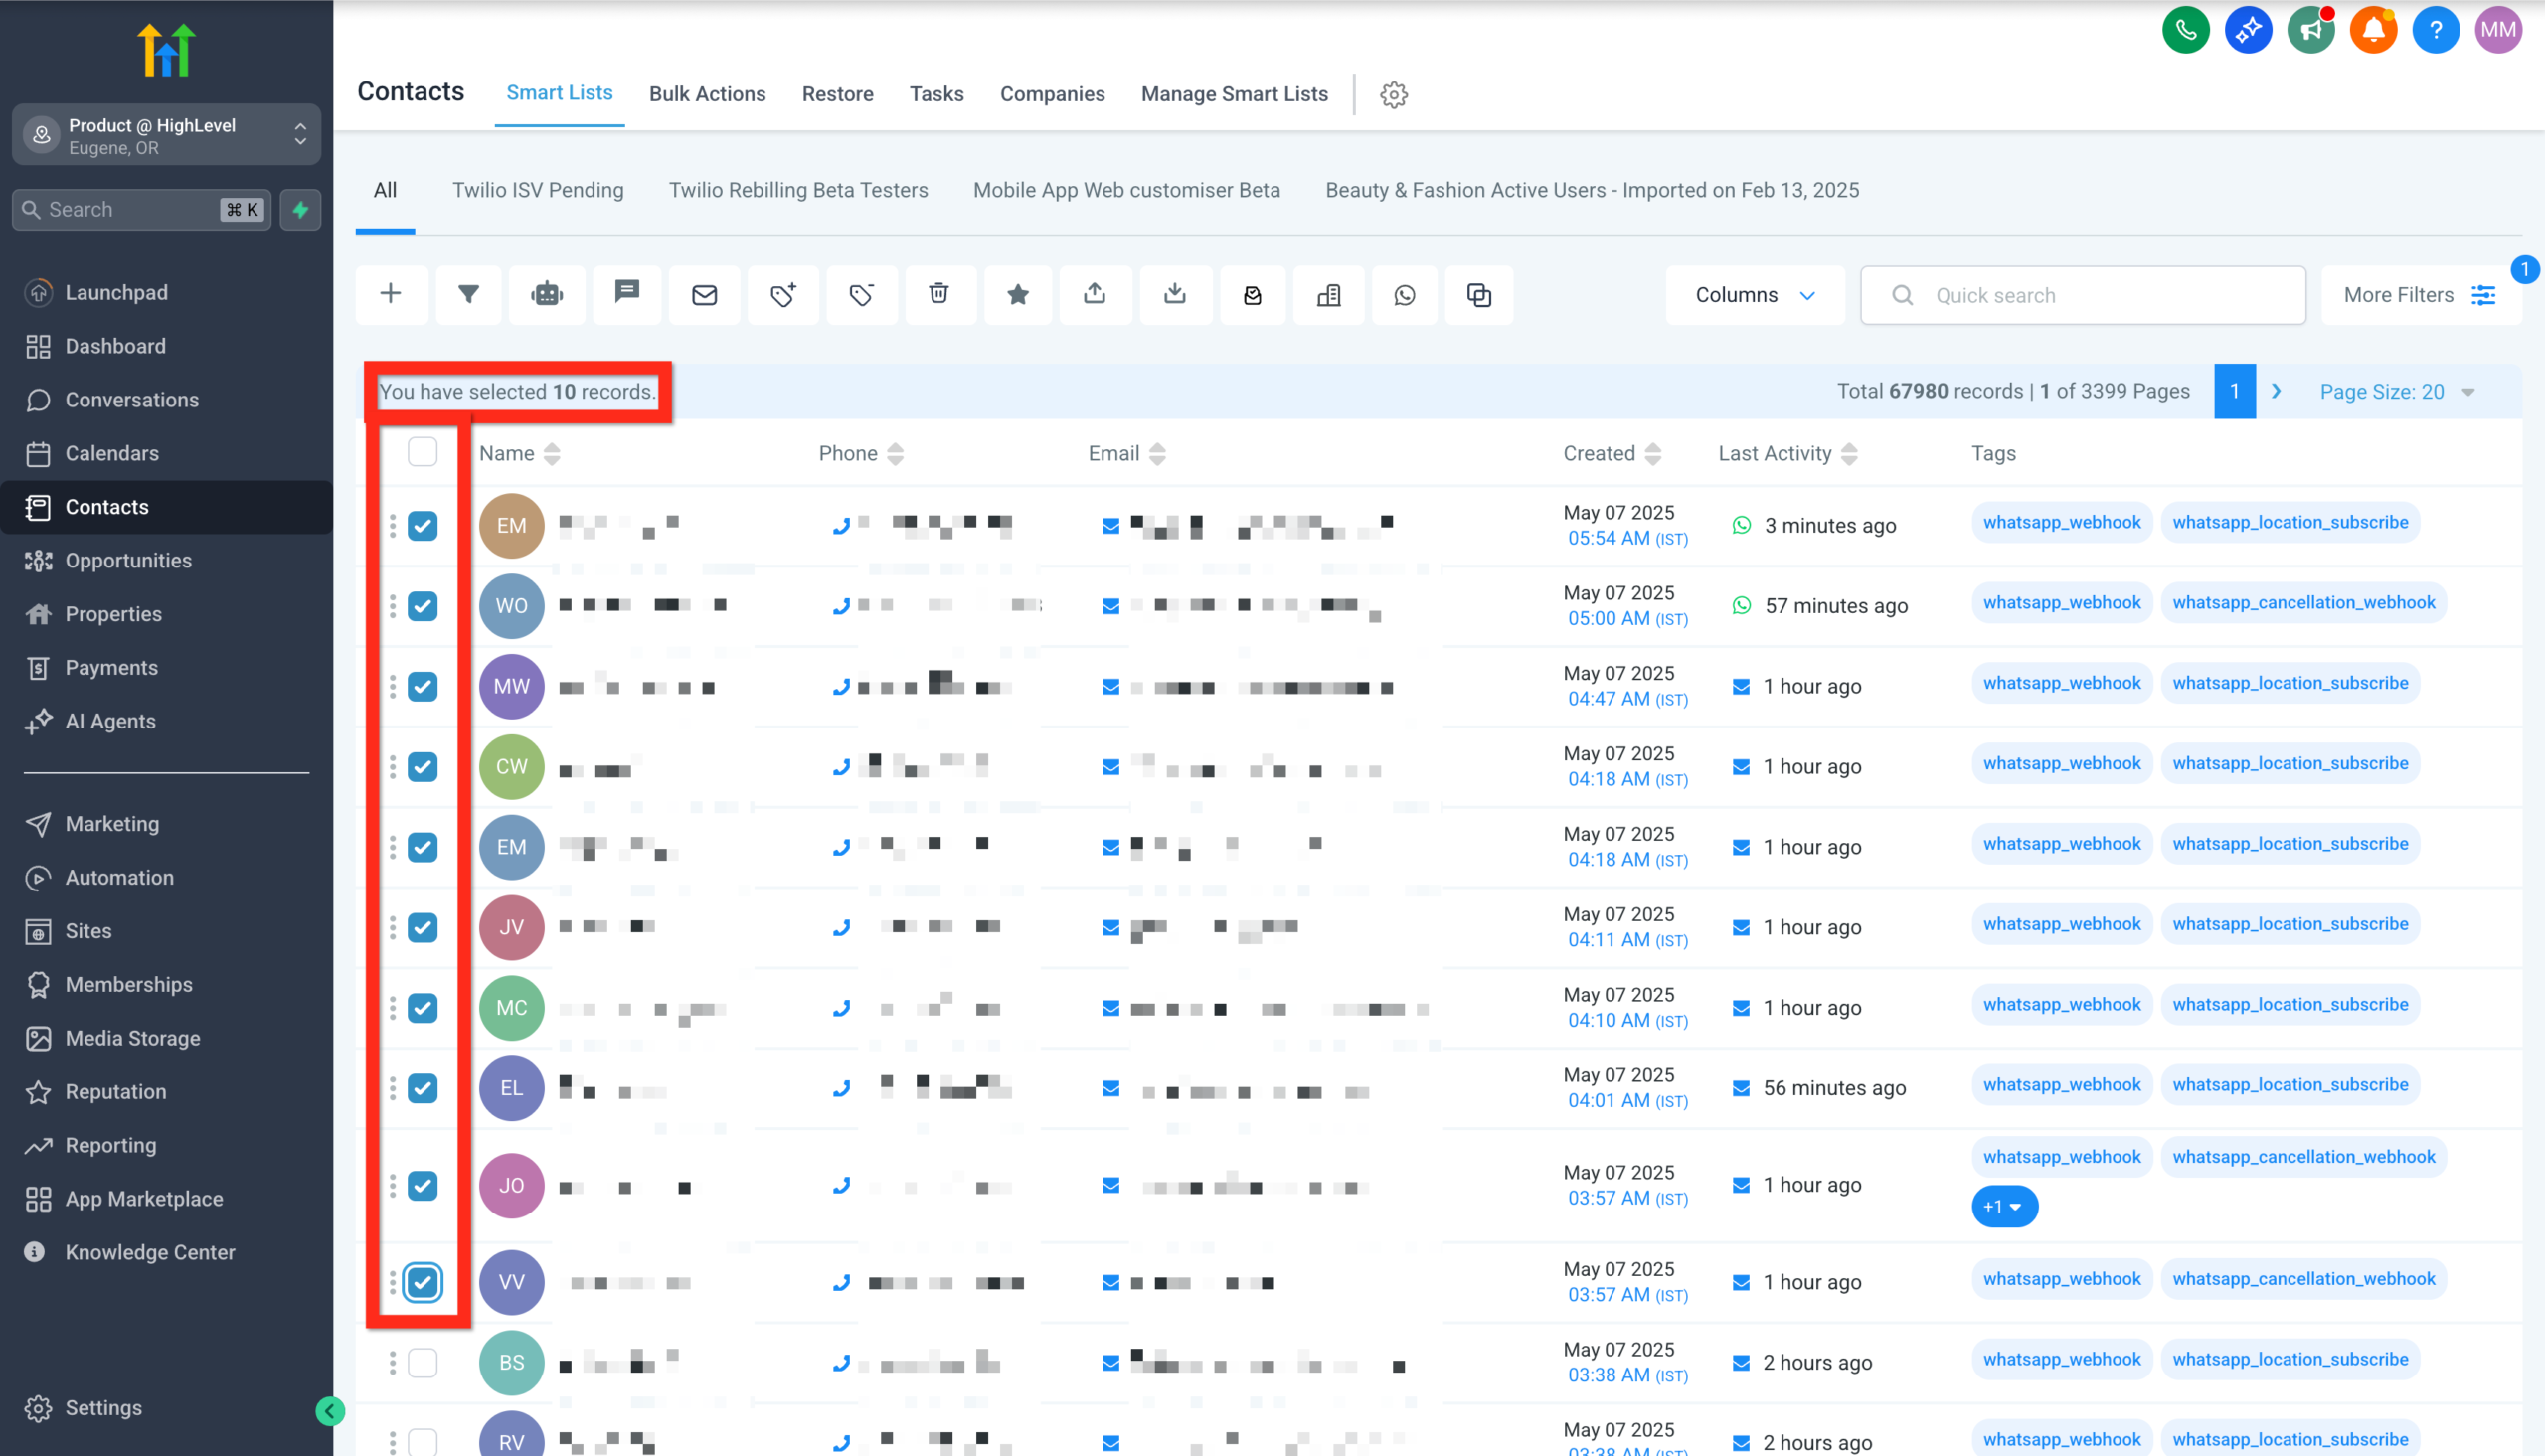 GoHighLevel Contacts list with multiple contact checkboxes selected for bulk actions.” title=”Screenshot of the GoHighLevel Contacts list with multiple contact checkboxes selected for bulk actions.”>
 - Click a bulk action button (e.g., Add to Automation, Send SMS, Send Email).
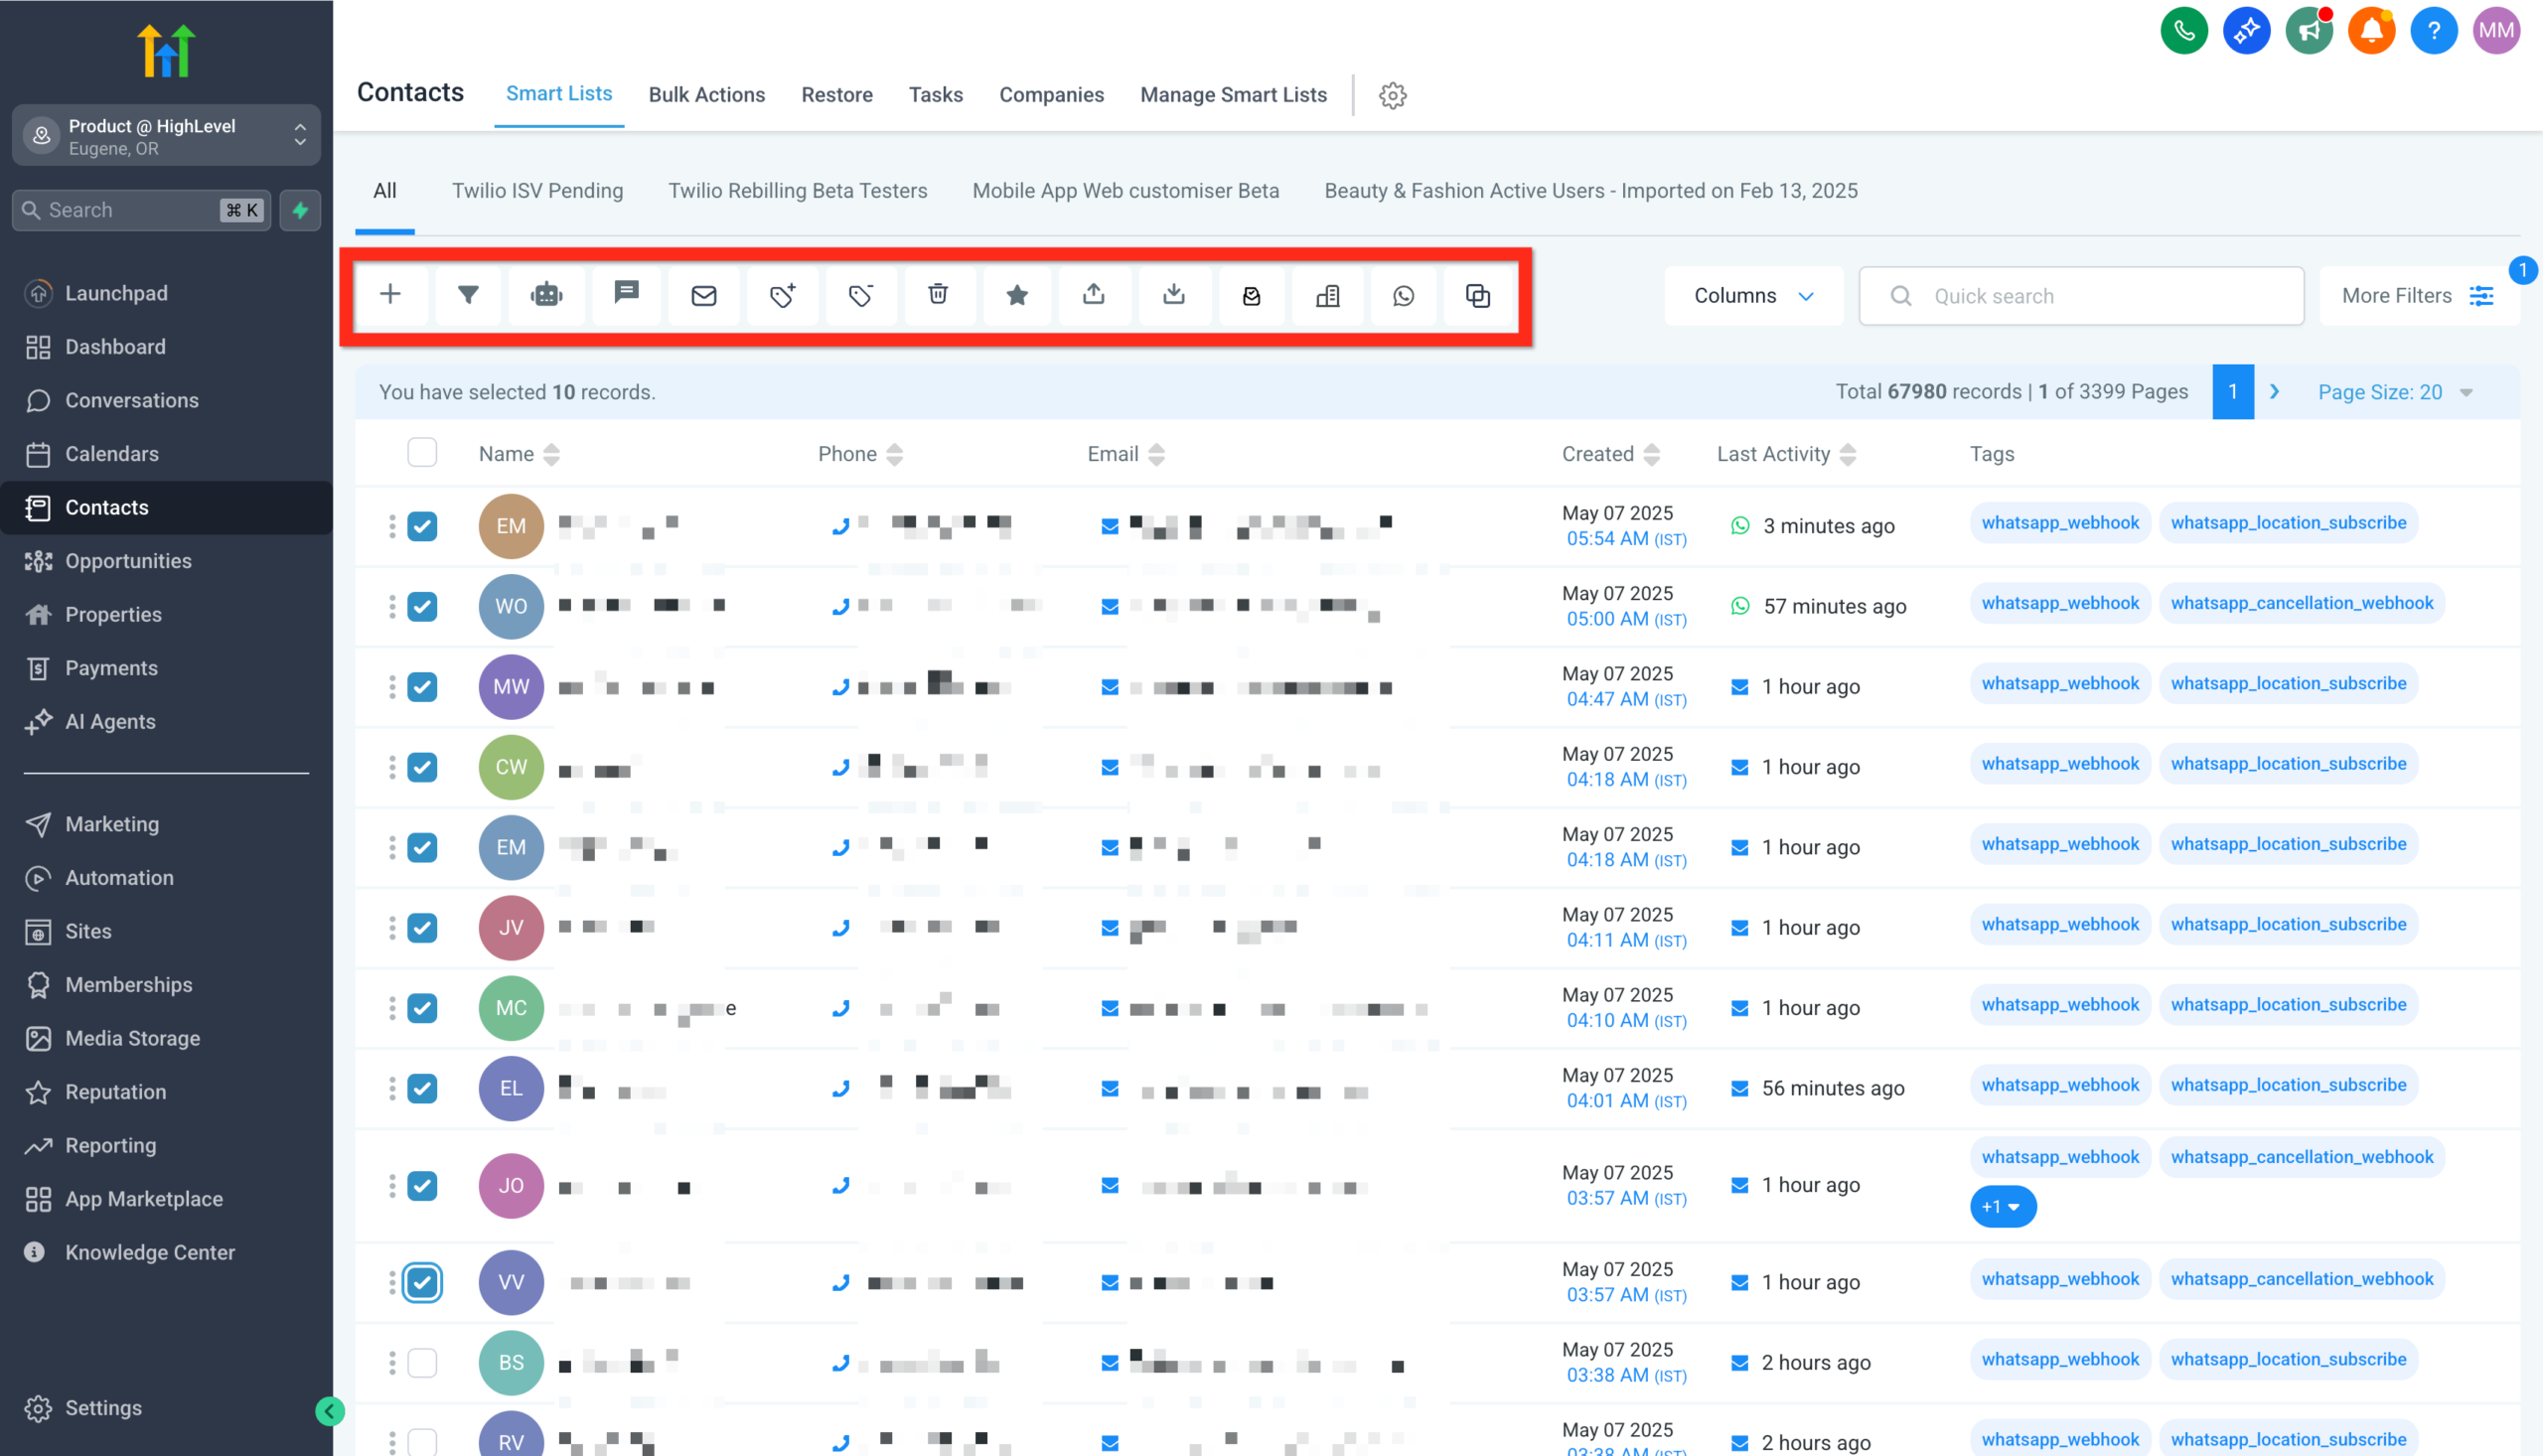 GoHighLevel Contacts page showing various bulk action buttons like 'Add to Automation', 'Send SMS', and 'Send Email' after selecting contacts.” title=”Screenshot of the GoHighLevel Contacts page showing various bulk action buttons like 'Add to Automation', 'Send SMS', and 'Send Email' after selecting contacts.”>
Learn more:
Bulk Activities: Adding Contact Tags to Multiple Contacts
Standard Contact Fields During Import
Below is a list of the standard contact fields that can be used when importing contacts:
- Contact ID
- Name
- First Name
- Last Name
- Date of Birth
- Contact Owner
- Contact Source
- Contact Type
- Business Name
- Phone
- Business Name
- Address
- State
- City
- Postal Code
- Country
- DND
- Time Zone
- Website
- Additional Email
- Additional Phones
- Notes
Next, explore automation tools to supercharge your outreach!
Common import mistakes (and how to avoid them)
1. Importing without a backup
Always keep a copy of your original CSV export. If something goes wrong or deduplication behaves differently than expected, you’ll be glad you did.
2. Mixing cold and warm contacts
Lumping old, unengaged contacts into the same segment as recent leads can hurt deliverability. Tag them separately and consider a re‑engagement sequence before regular campaigns.
3. Ignoring custom fields
If you skip mapping key data points (plan, region, industry), you lose powerful segmentation options later. Take the time to model them properly with custom fields.
4. Letting duplicates run wild
Set clear deduplication rules and stick to them. Otherwise, your team will constantly wonder which of three similar records is “the real one.”
5. Over‑engineering from day one
You don’t need a perfect data model before you import. Start with the fields that drive real decisions now, then iterate.
Where Revset Labs fits in
Revset Labs is an AI Automation and Marketing Agency that helps founders and marketing teams turn GoHighLevel into a growth system—not just another tool.
On import and contact strategy projects, we typically help clients:
- Design a contact data architecture (fields, tags, stages) that matches their customer journey.
- Clean and consolidate lists from multiple tools before importing into GoHighLevel.
- Build workflows that react instantly when a contact is imported or updated.
- Set up dashboards so leadership can see which sources, segments, and campaigns actually drive revenue.
If you’d rather skip the trial‑and‑error and have a Revset Labs strategist design your GoHighLevel setup for you, this is exactly the kind of work we do every day.
Next steps
If you’re ready to move your existing database into GoHighLevel:
- Export and clean your current contact list.
- Prepare a clear mapping for fields, tags, and segments.
- Use GoHighLevel’s import wizard to bring everything in safely.
- Immediately connect those contacts to automations, pipelines, and reporting.
And if you want to experience all of this inside a live account—or need a fresh environment to test your import process—start here:
Launch your GoHighLevel free trial
Once you’ve seen what a clean, automated GoHighLevel setup feels like, it’s hard to go back to spreadsheets.
Pingback: Launch High-Converting Funnels in GoHighLevel: Step-by-Step Guide